When we talk about photography , the most important element attached to it to obtain great result is Lenses. It determine the quality of your photography. A good camera lens will capture sharp photos with plenty of detail and contrast, while a poor one can leave your images looking flat and blurry.
When searching for lenses, it’s important to consider the subject/area you intend to shoot, the likely lighting conditions, and of course your budget. No single lens is perfect for every situation, so you’ll need to balance the pros and cons of the various options and pick the best compromise.
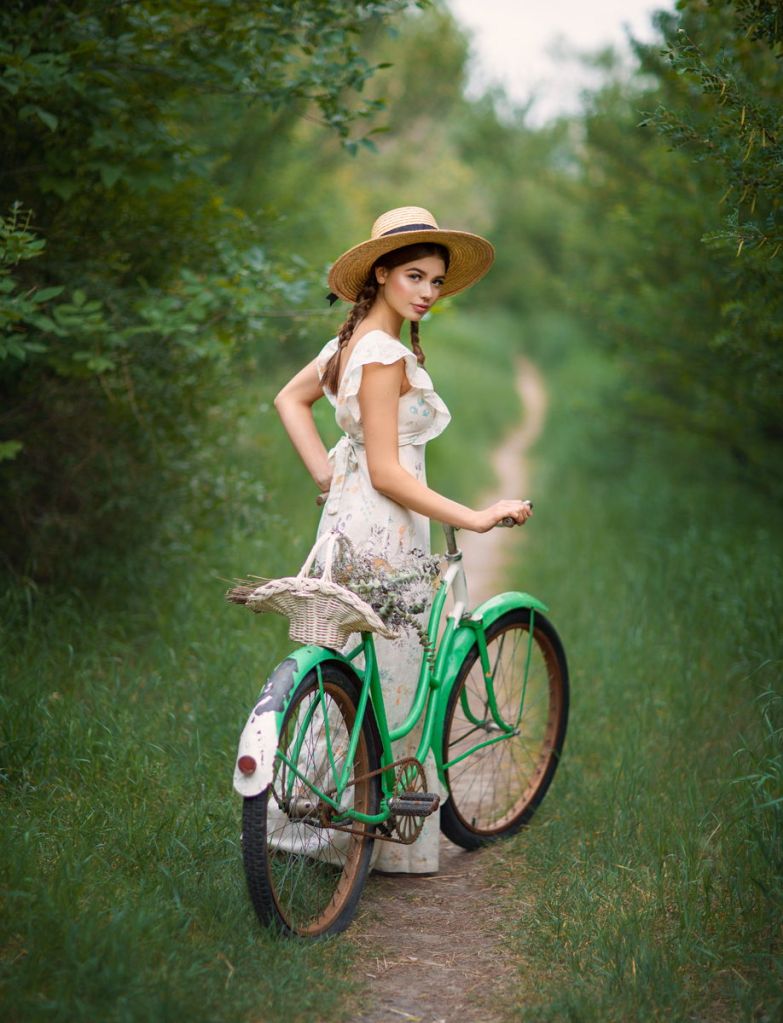
STANDARD LENS/ PRIME LENS
Prime lenses are a fixed focal length. That means that if you choose a 35mm lens, it will ONLY give you a 35mm perspective (meaning you can’t zoom in and out). You can only shoot from one length, meaning you have to move your physical body to get wide shots vs close ups. Primes lenses tend to work for ALL types of photography, specifically street photography, portraits, weddings, landscape, etc.

his shows the different perspectives given the different focal lengths you may choose. A 24mm lens will give you the widest view, while a 135mm will crop in much closer! (Remember that if you have a crop sensor camera, these fixed focal lengths are about 1.5x longer.)
Types of Standard Prime Lenses: 24mm, 35mm, 50mm, 85mm, 135mm, 200mm
Pros:
- Usually deliver sharper images overall, compared to zoom lenses.
- Light weight.
- Better in low light conditions.
- Great for general photography from interiors, to landscapes and portraits.
Cons:
- Fixed length, won’t zoom.
- The need to carry multiple lenses.
MACRO LENS
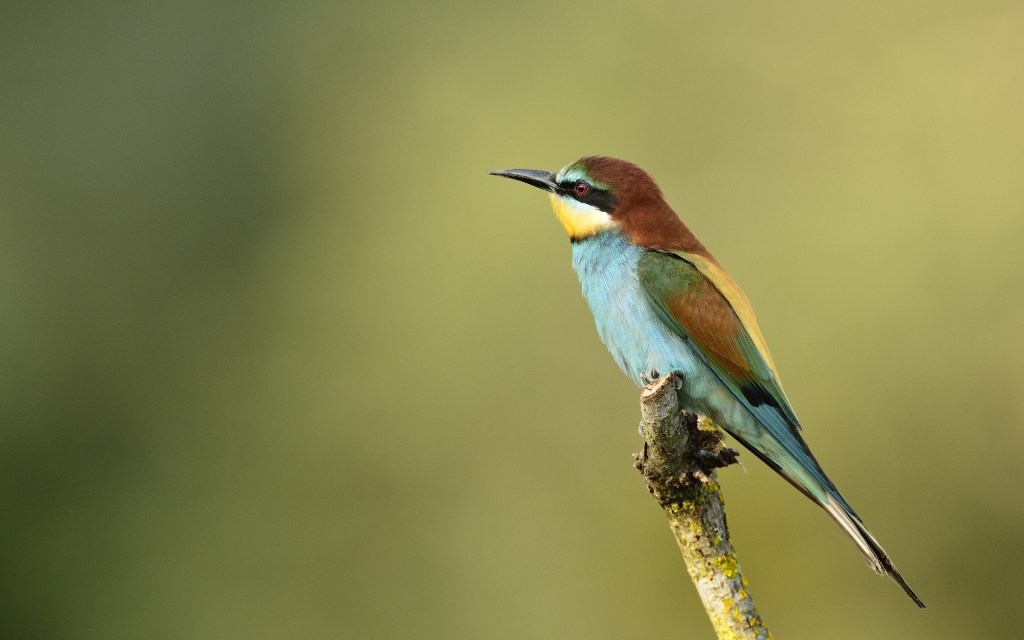
A macro lens is one designed especially for close-up photography. They have a different internal construction from normal lenses which gives them very good sharpness and contrast, meaning that they produce some really eye-catching photos.
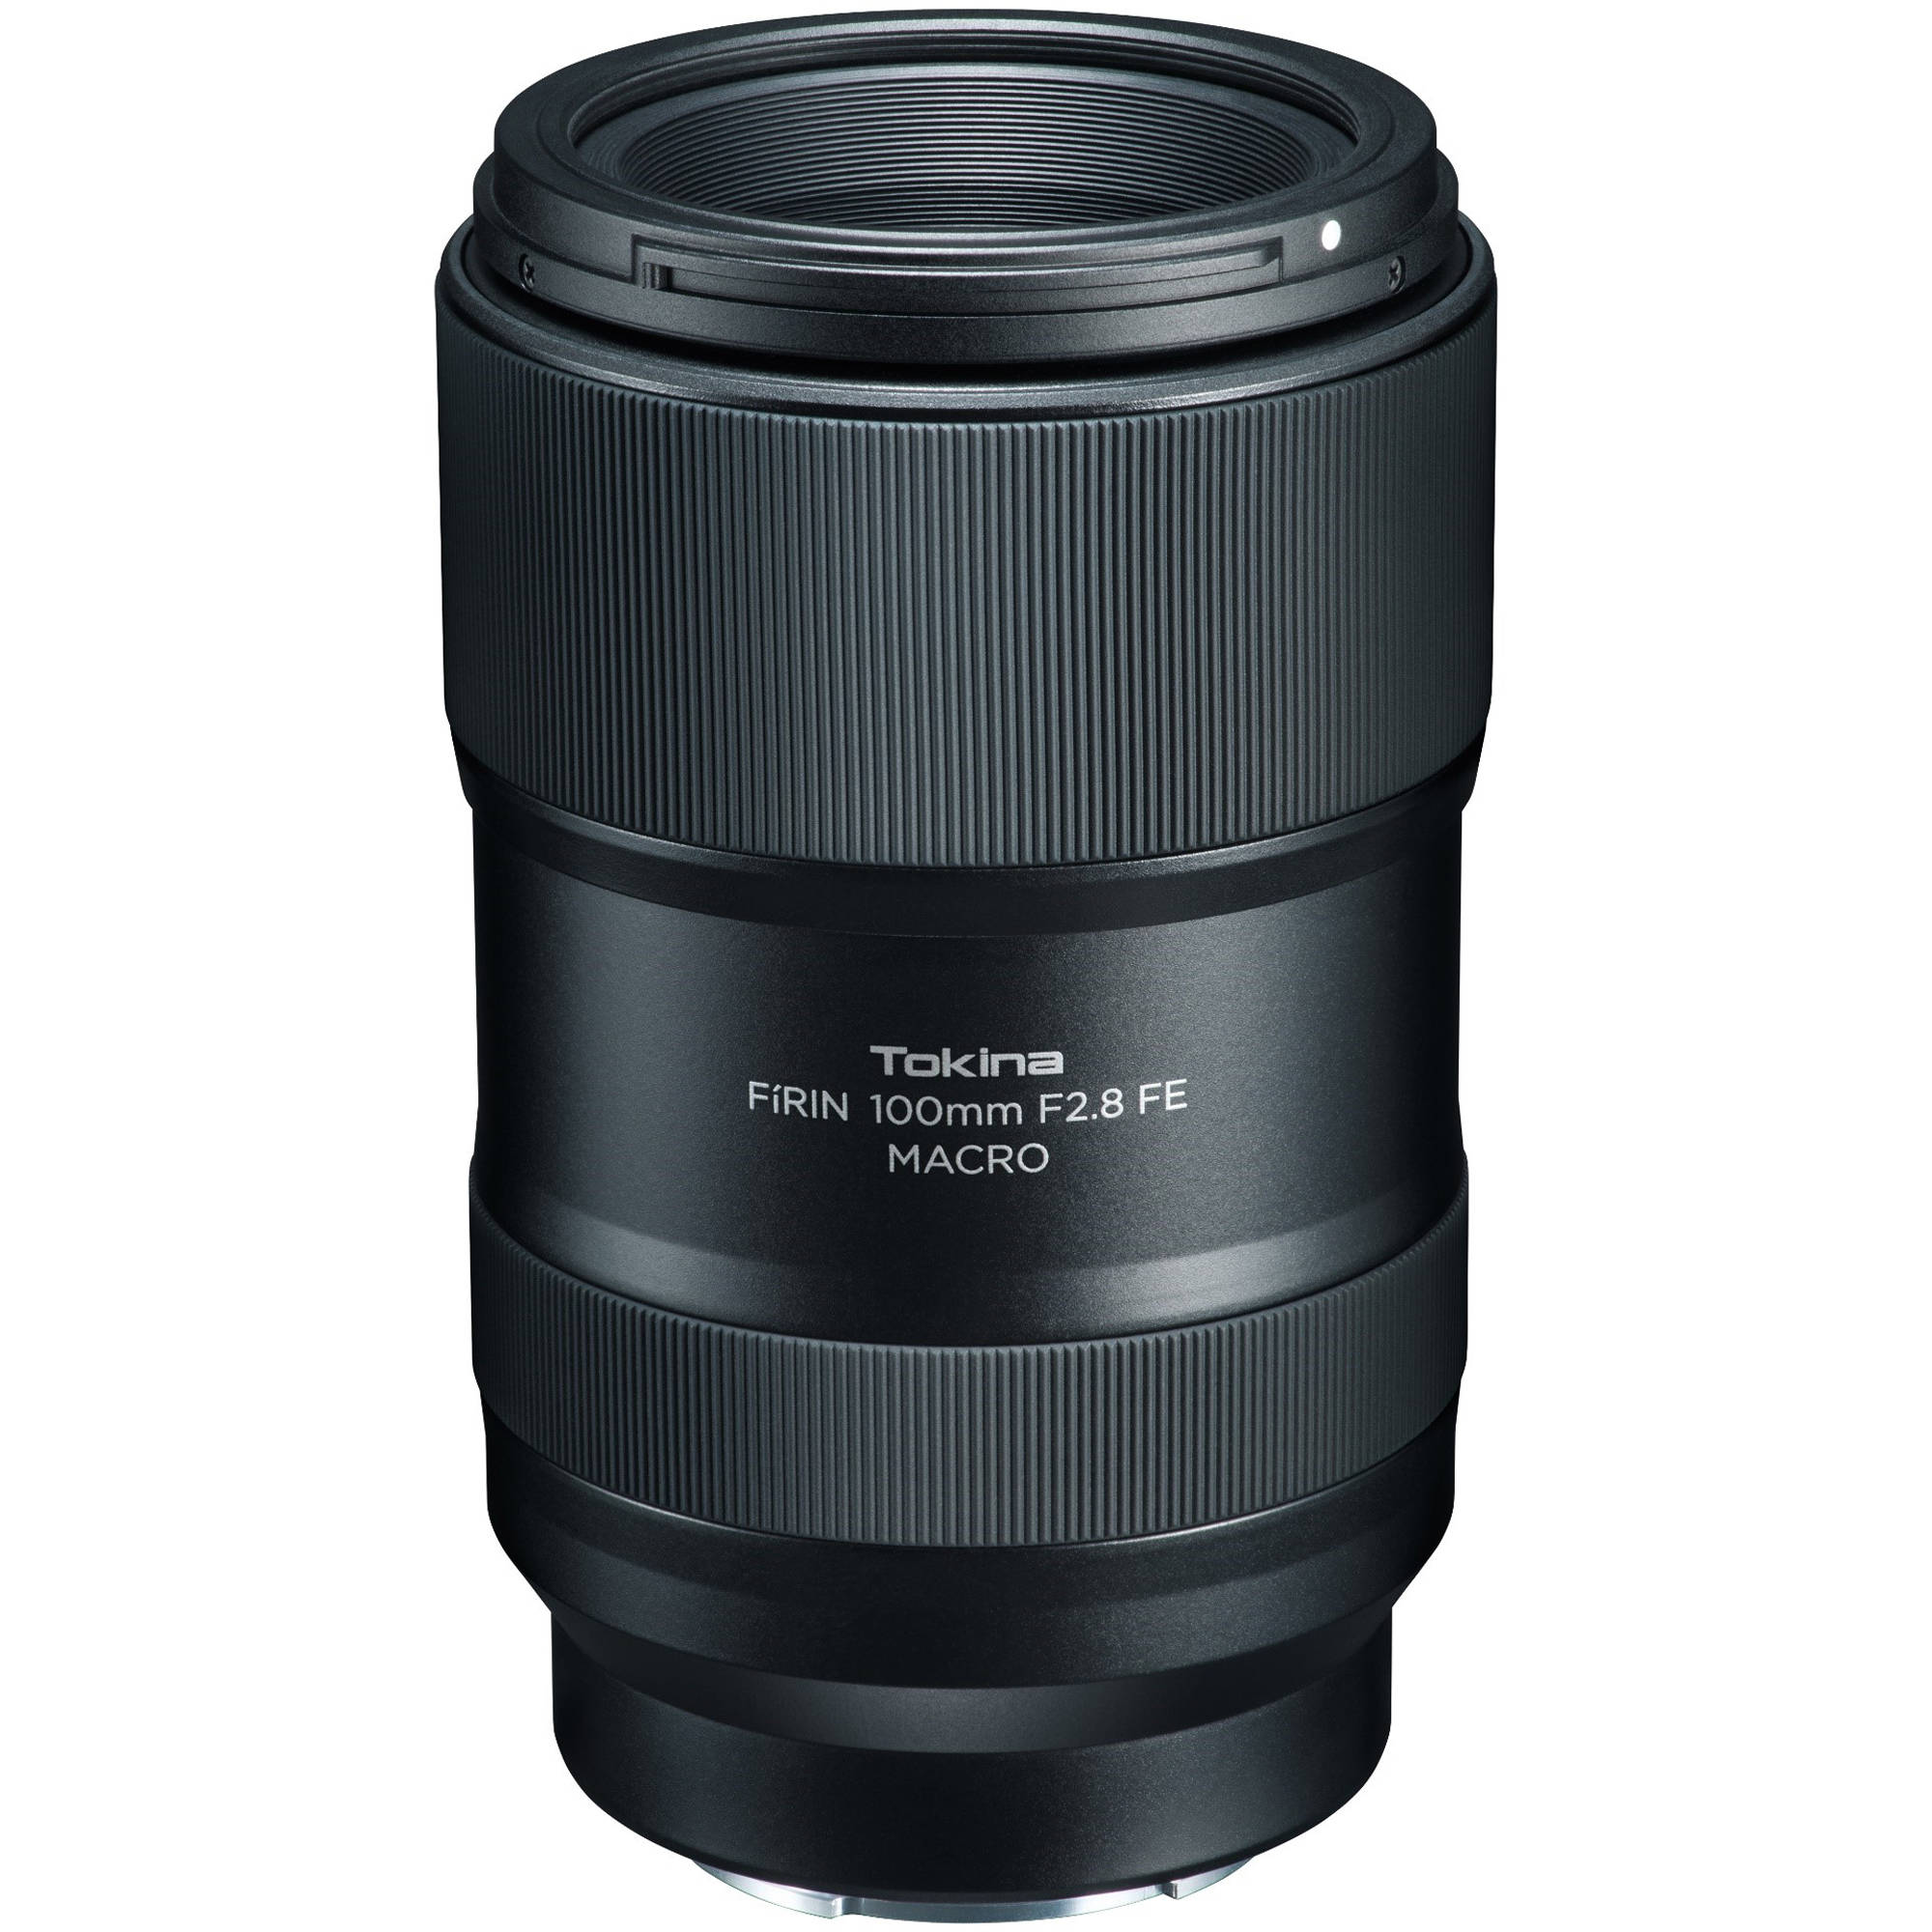
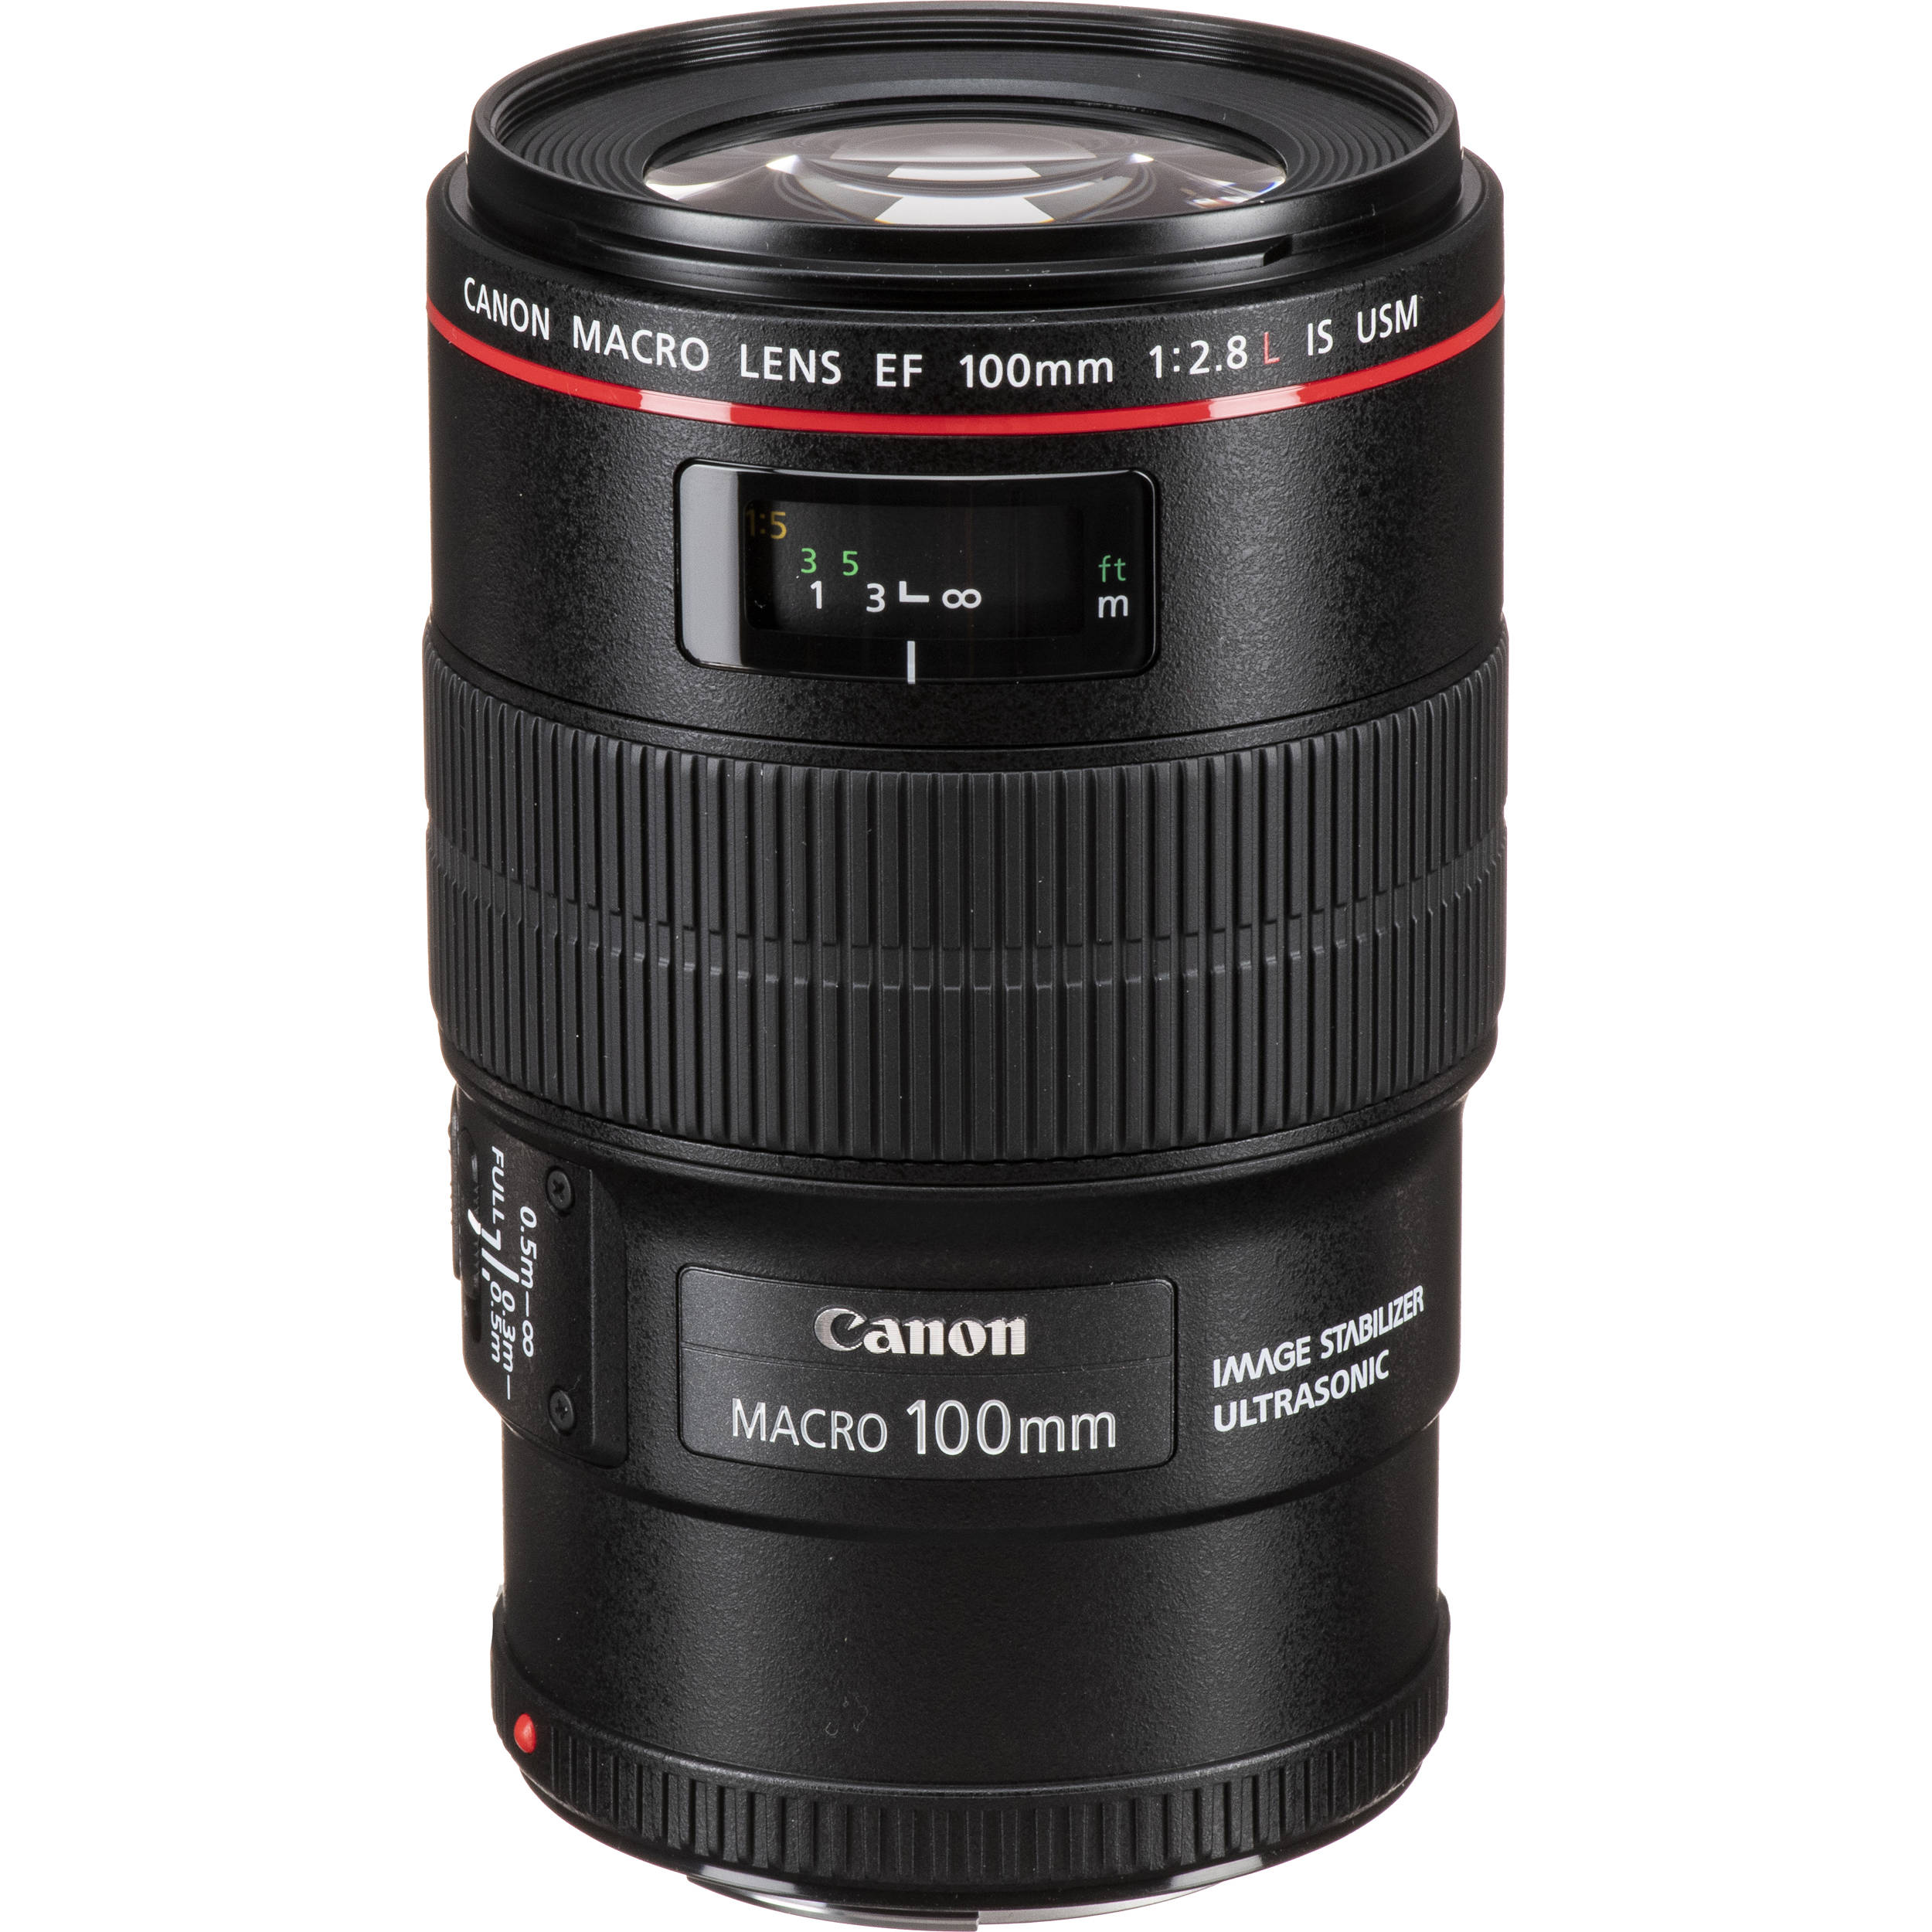
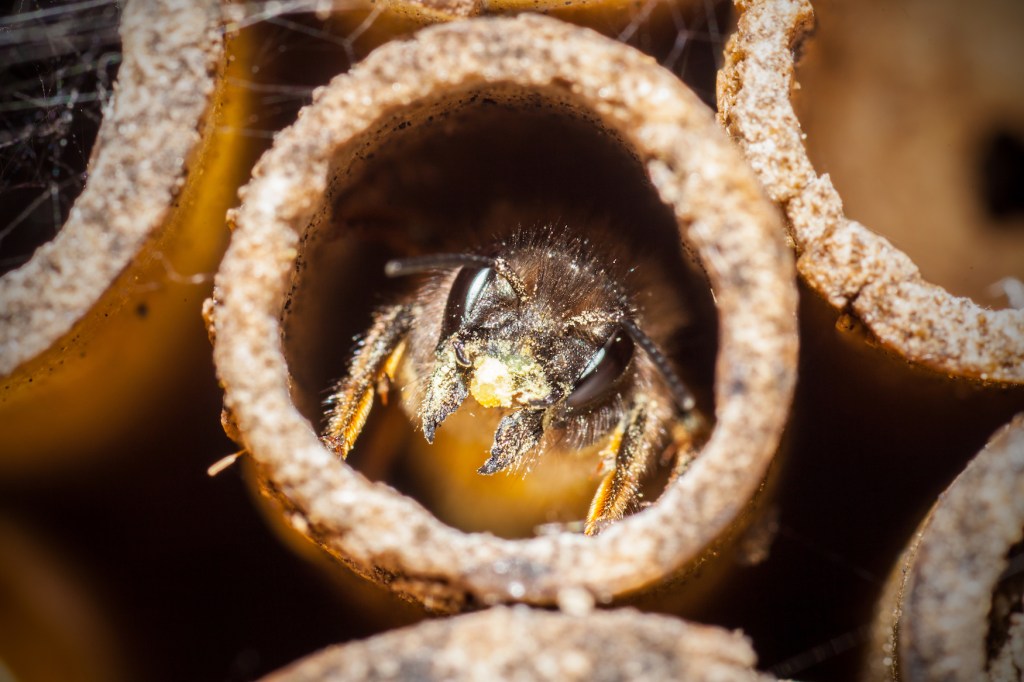
Macro lenses are useful for photographing any subject at very close range. Typical subjects include insects, animals, and plants, but they are also popular for taking extremely detailed photos of everyday objects.
Pros:
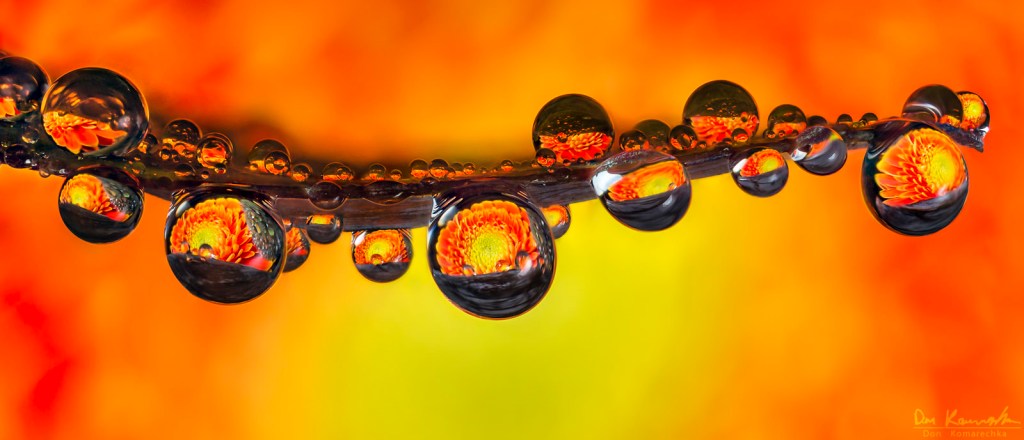
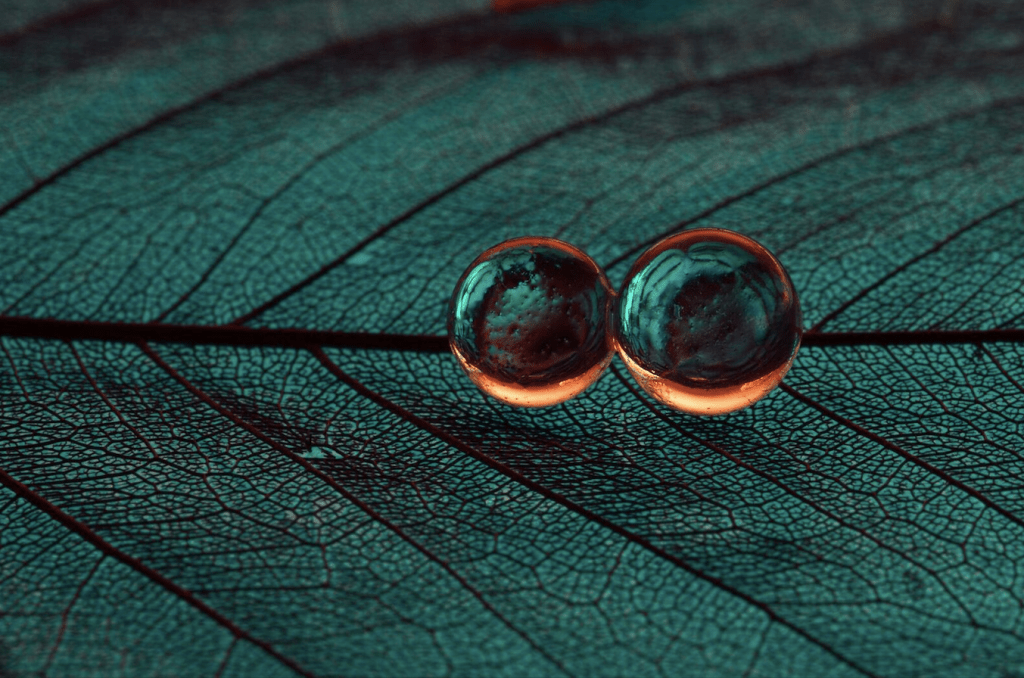
- Allows for extreme detailed shots (nature shots, wedding details, snowflakes, etc). Very precise!
- Get magnification of subject (up to 5x it’s actual size).
- Best quality image.
Cons:
- Limited use (not necessarily great for portraits or general photography.
- They tend to be expensive.
- Reported focusing issues (long focusing times and slower shutter speed).
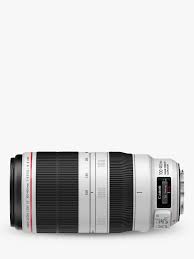
ZOOM LENSES
Zoom lenses are great due to their extreme versatility! These lenses allow you to stay in one place (no running around or twisted ankles) and zooms to multiple focal lengths with one auto focus function! A popular zoom lens is the Canon 70-200mm, which means it can zoom as far out as 70mm and up to 200mm (and every focal length in between)! What’s really cool is that zoom lenses (if on auto focus) can maintain that focus while you change your focal length, which means you can snap quickly!
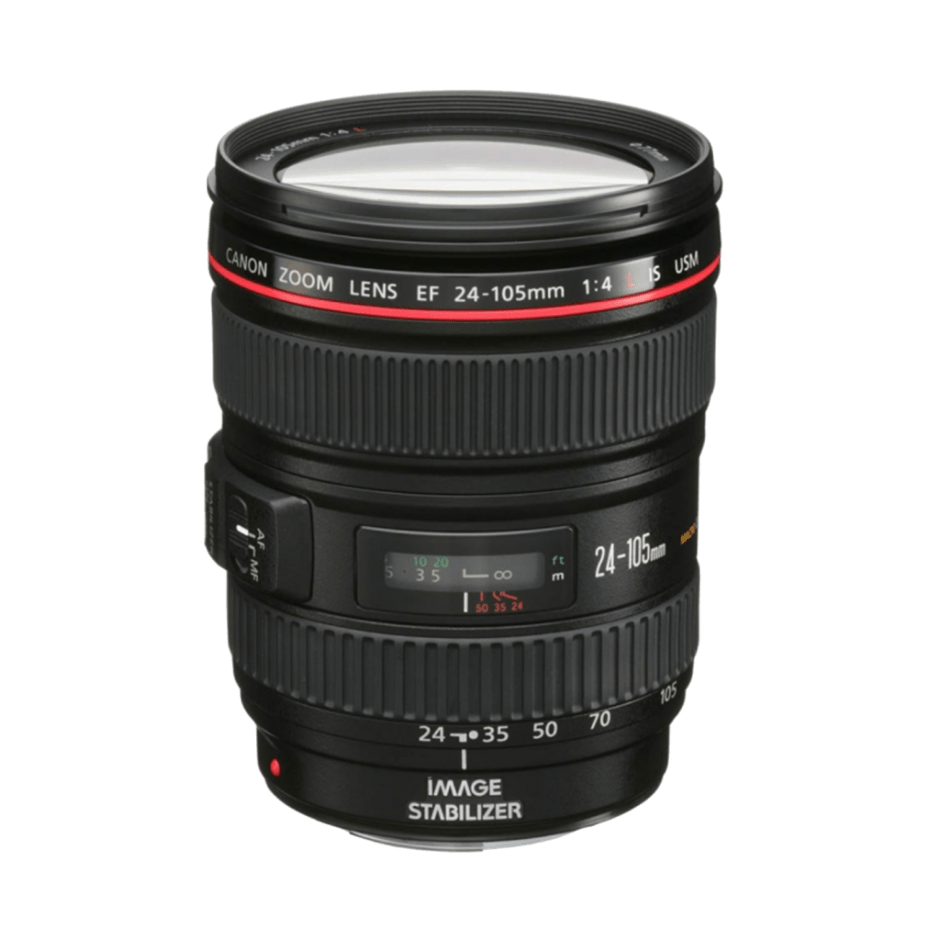
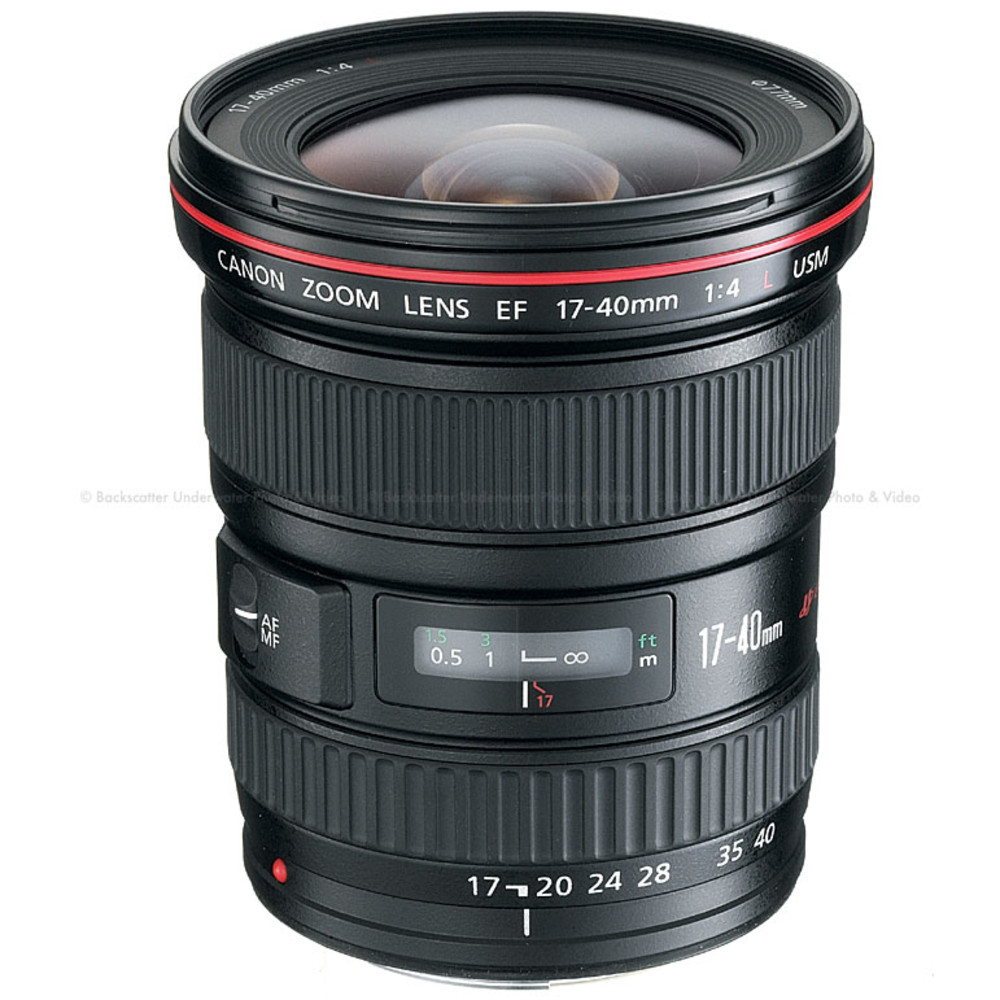
Types of Zoom Lenses: 17-40mm, 24-105mm, 70-200mm
Pros:
- Zoom capabilities, meaning you get multiple focal lengths in ONE lens.
- It allows you to stay in one position while using the zoom feature.
- GREAT for weddings, portraits and wildlife photography.
Cons:
- Heavy.
- Not as sharp as prime lenses.
- Typically higher aperture, meaning many zoom lenses won’t go below f/2.8 (creating less compression/bokeh).
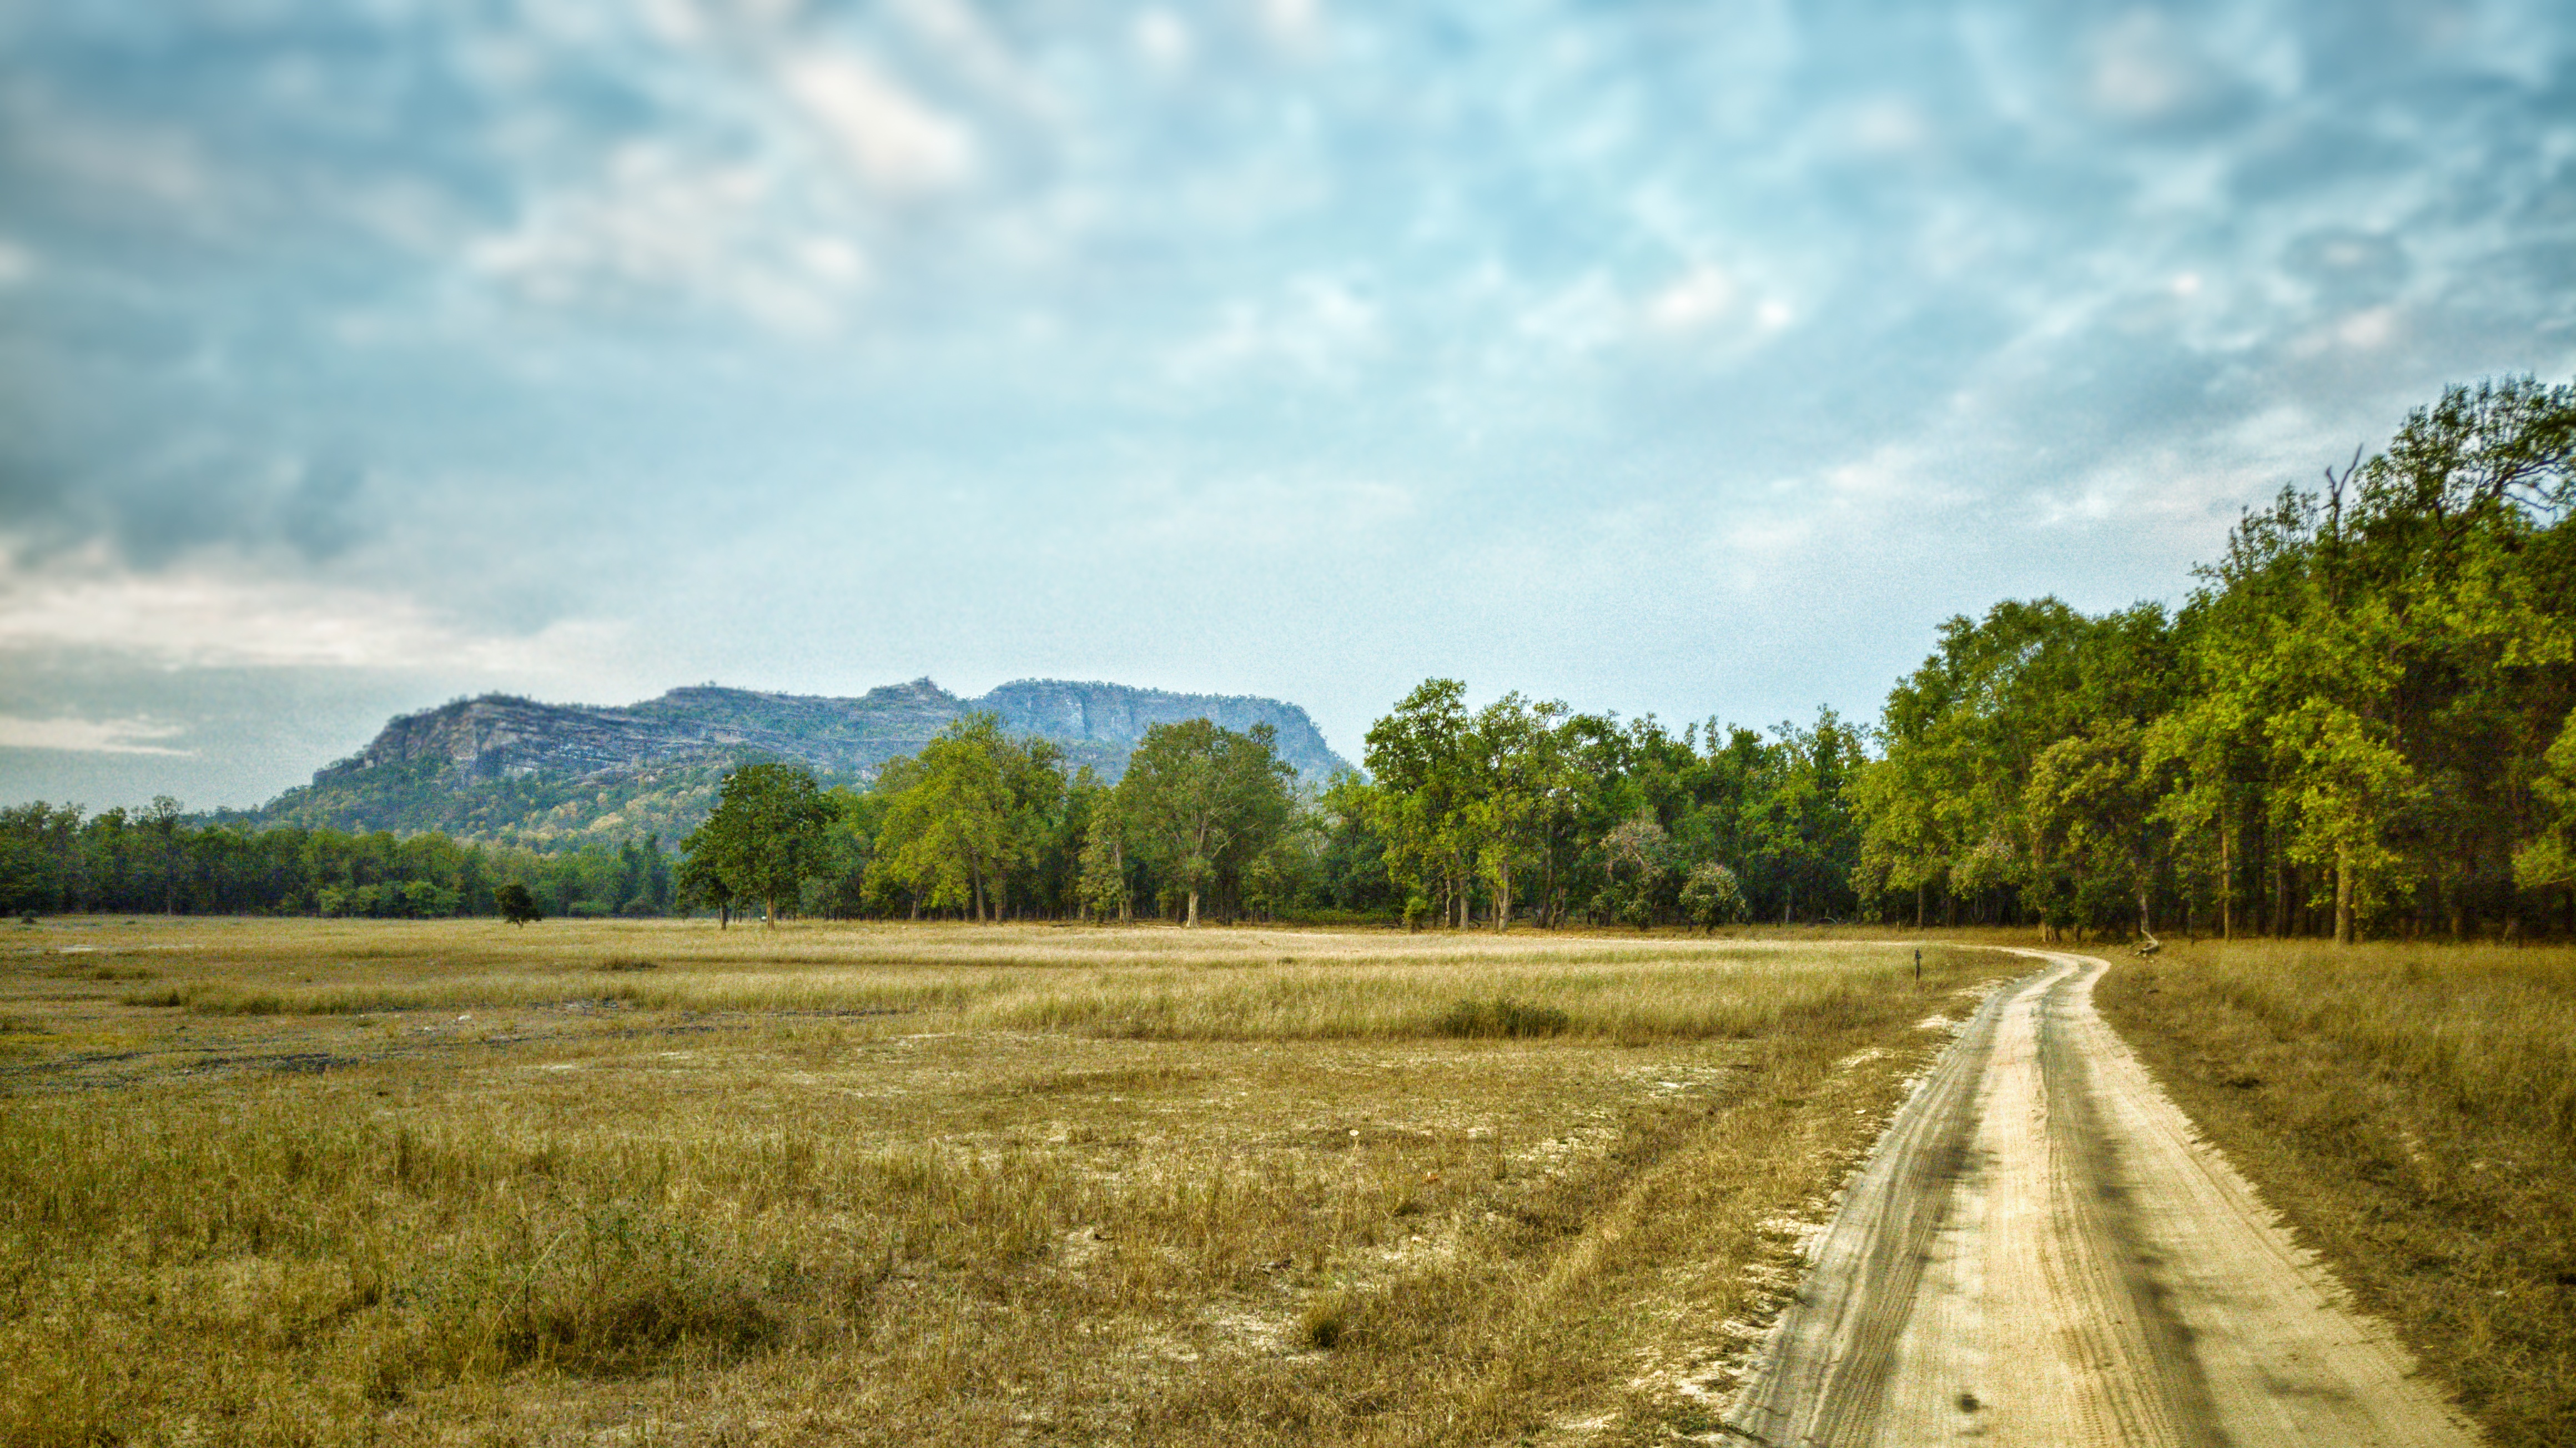
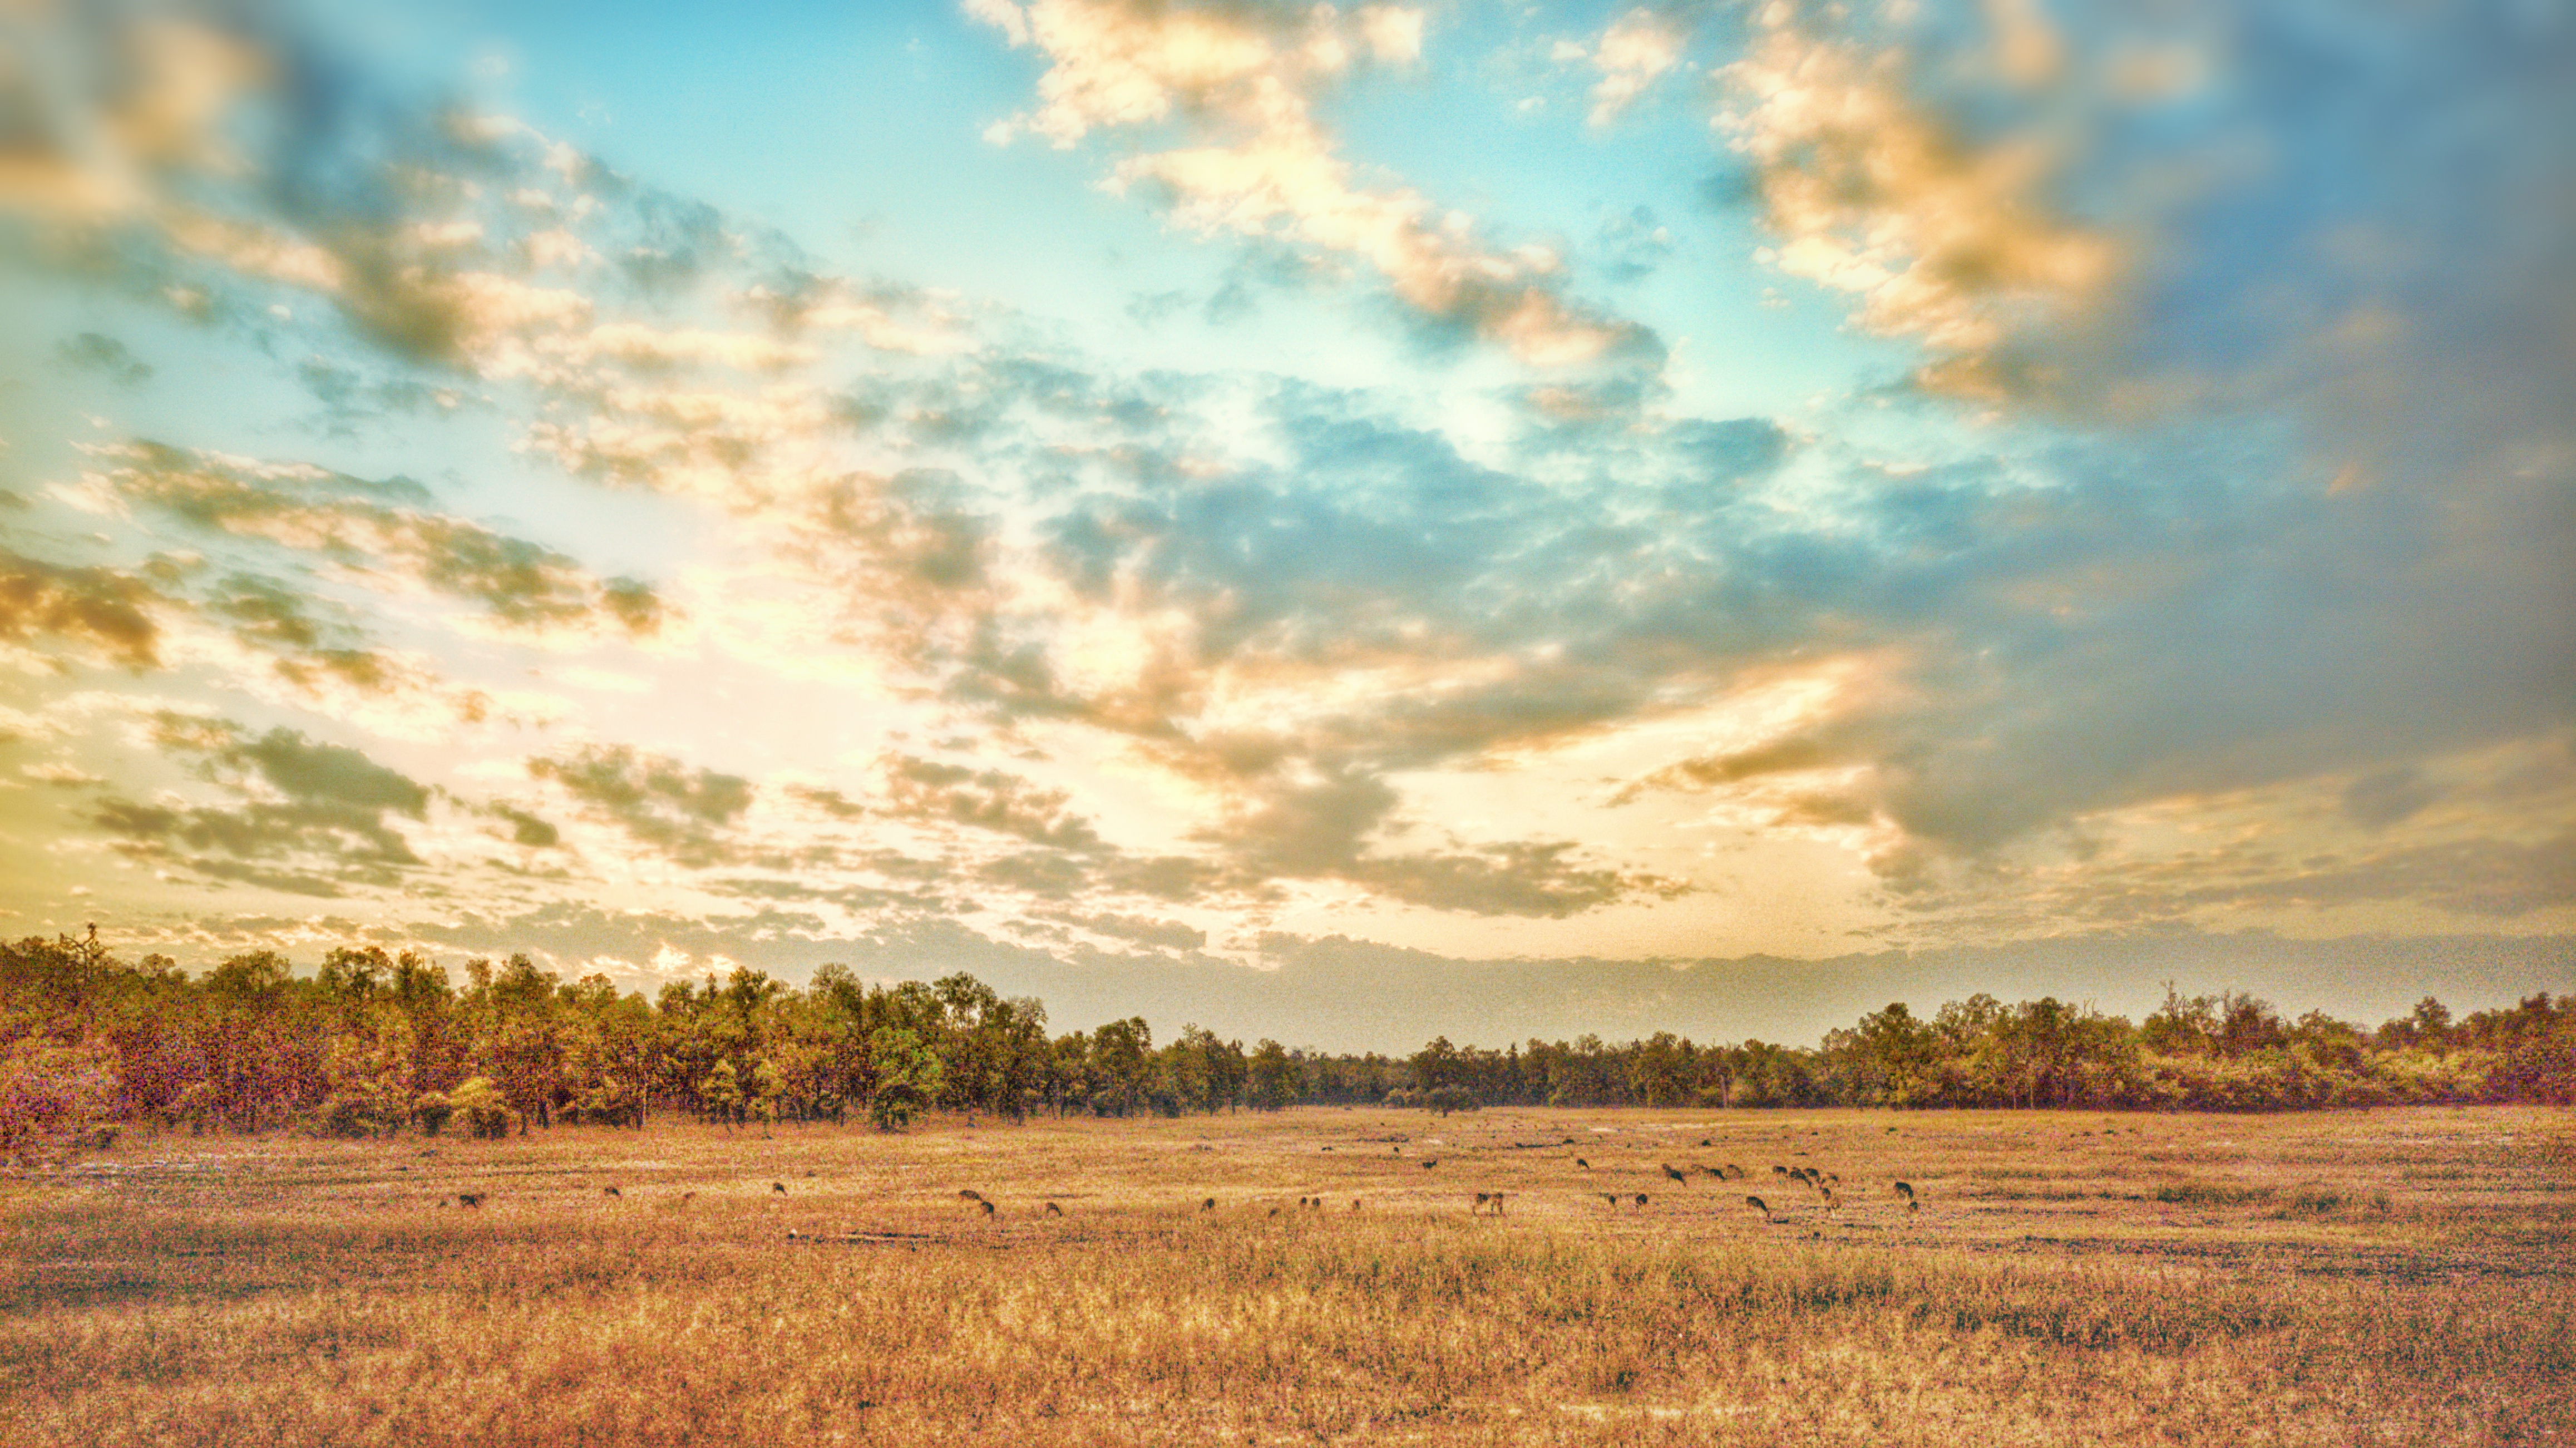
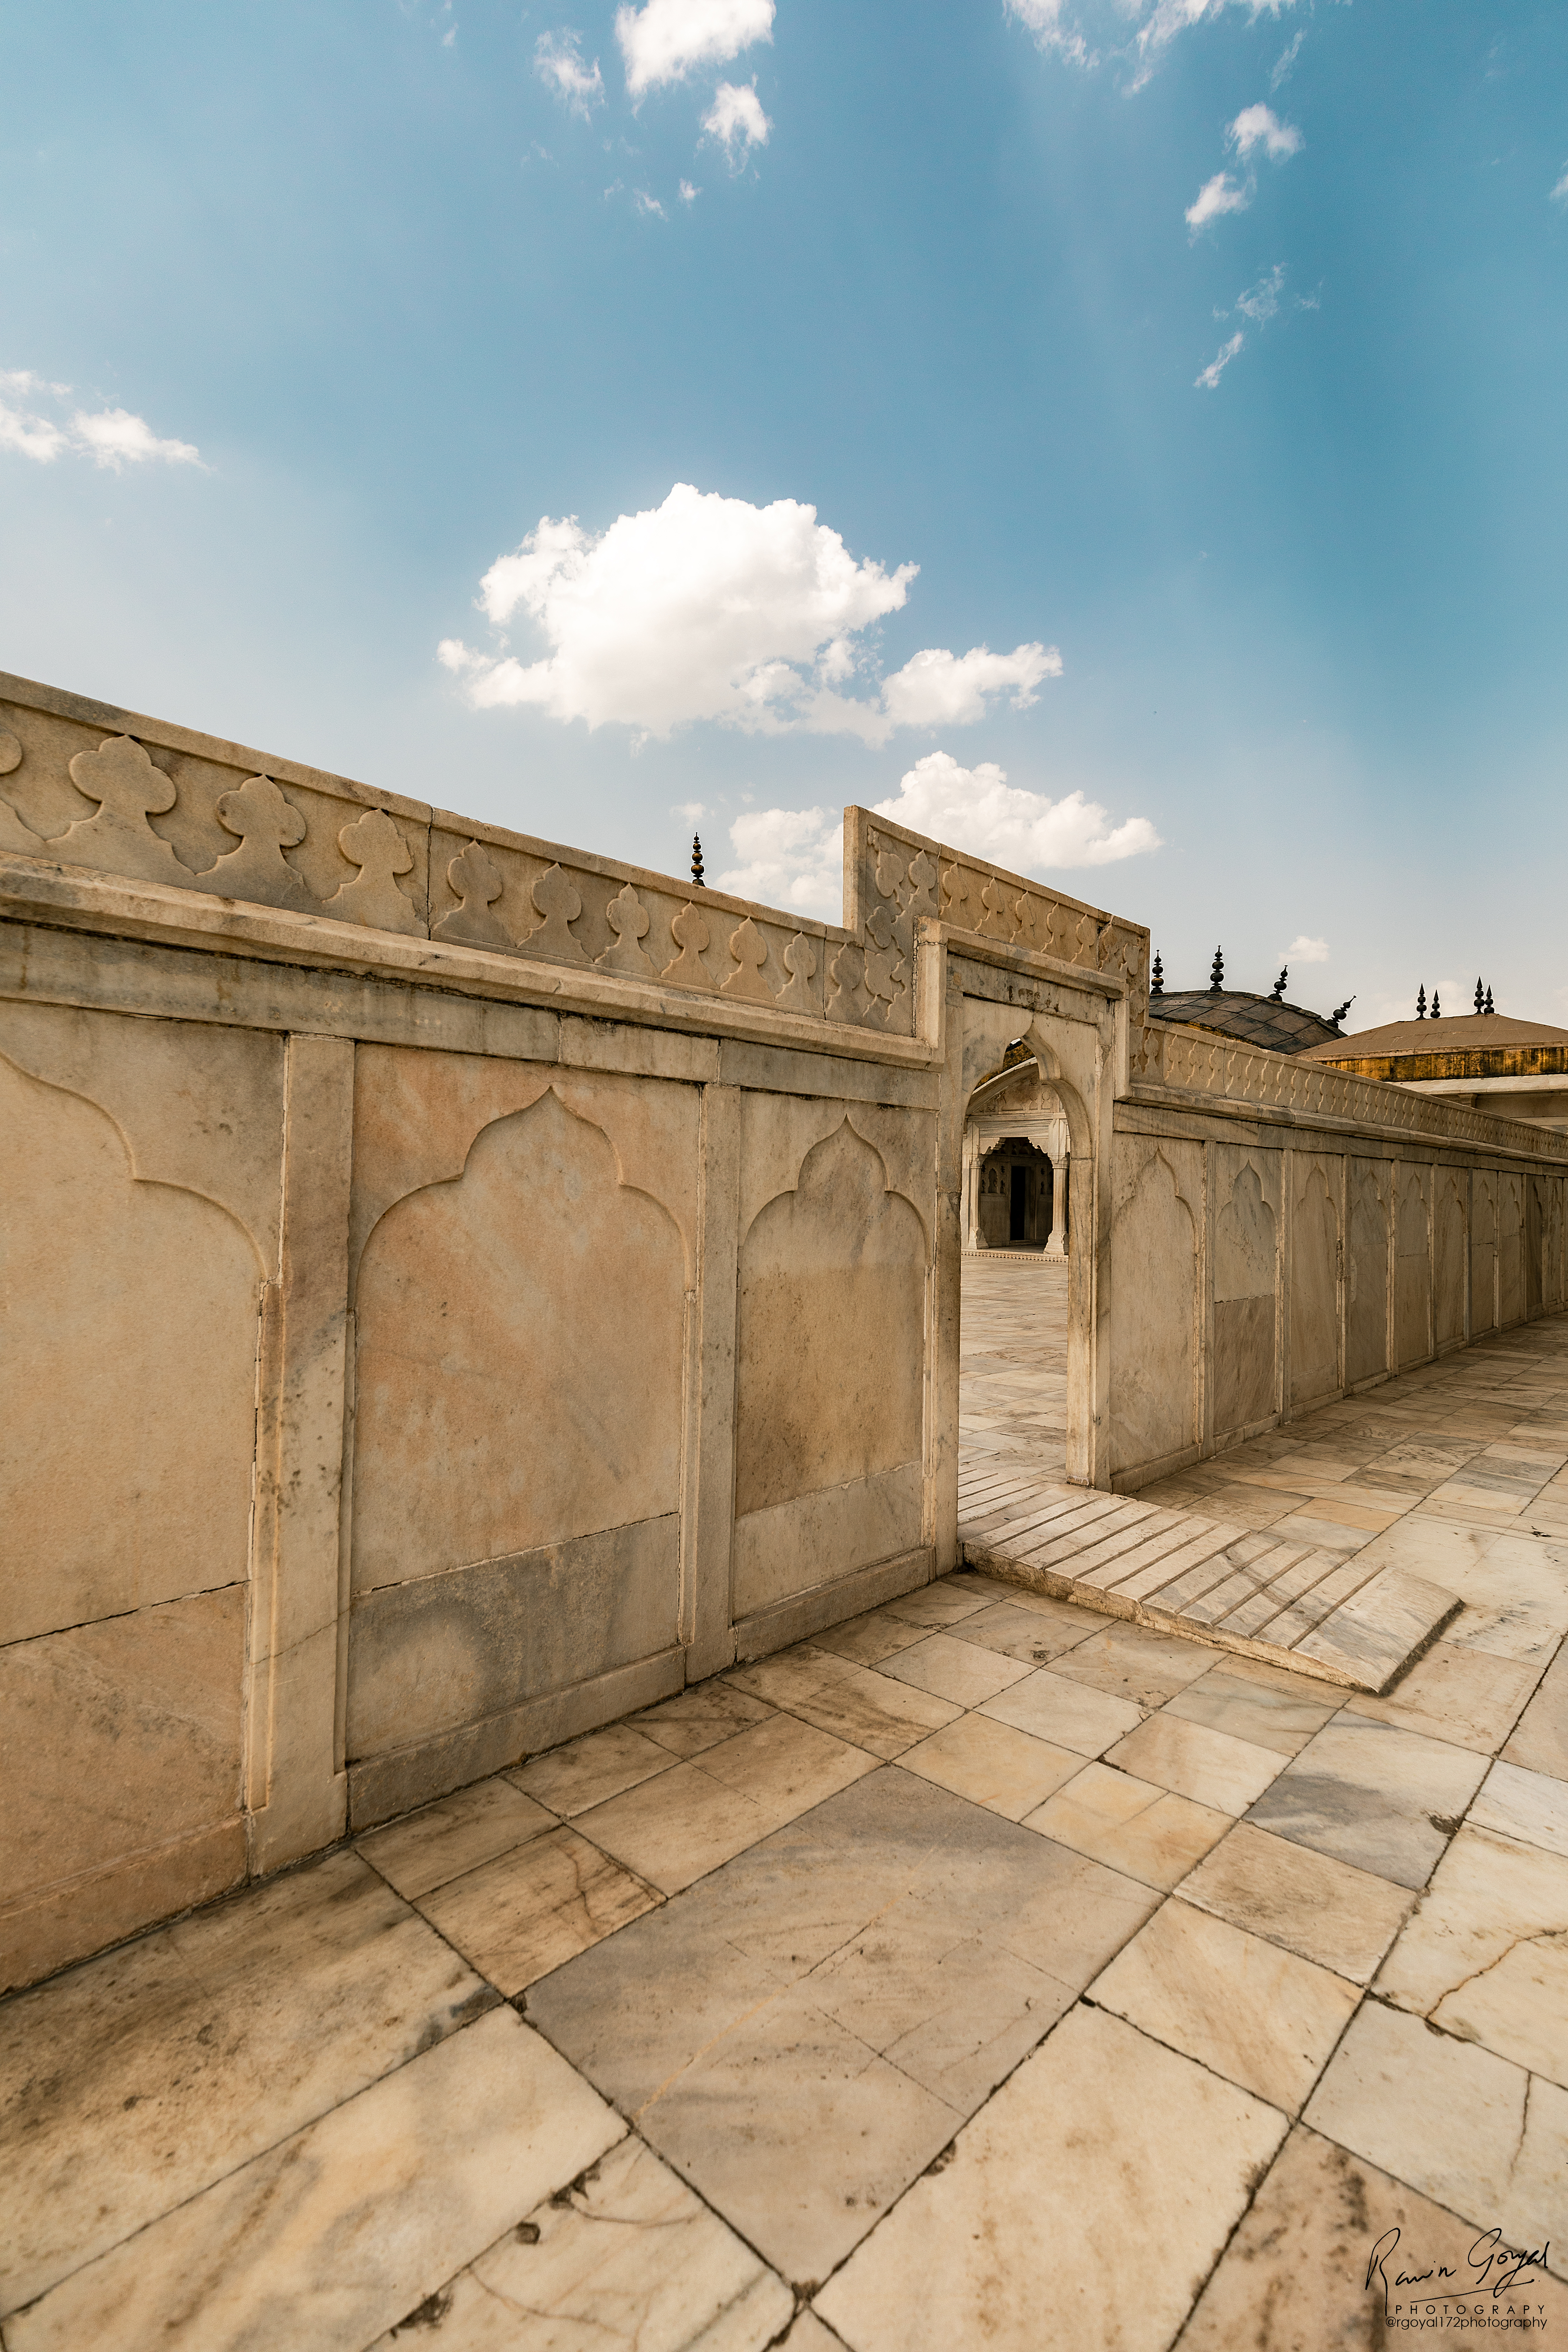
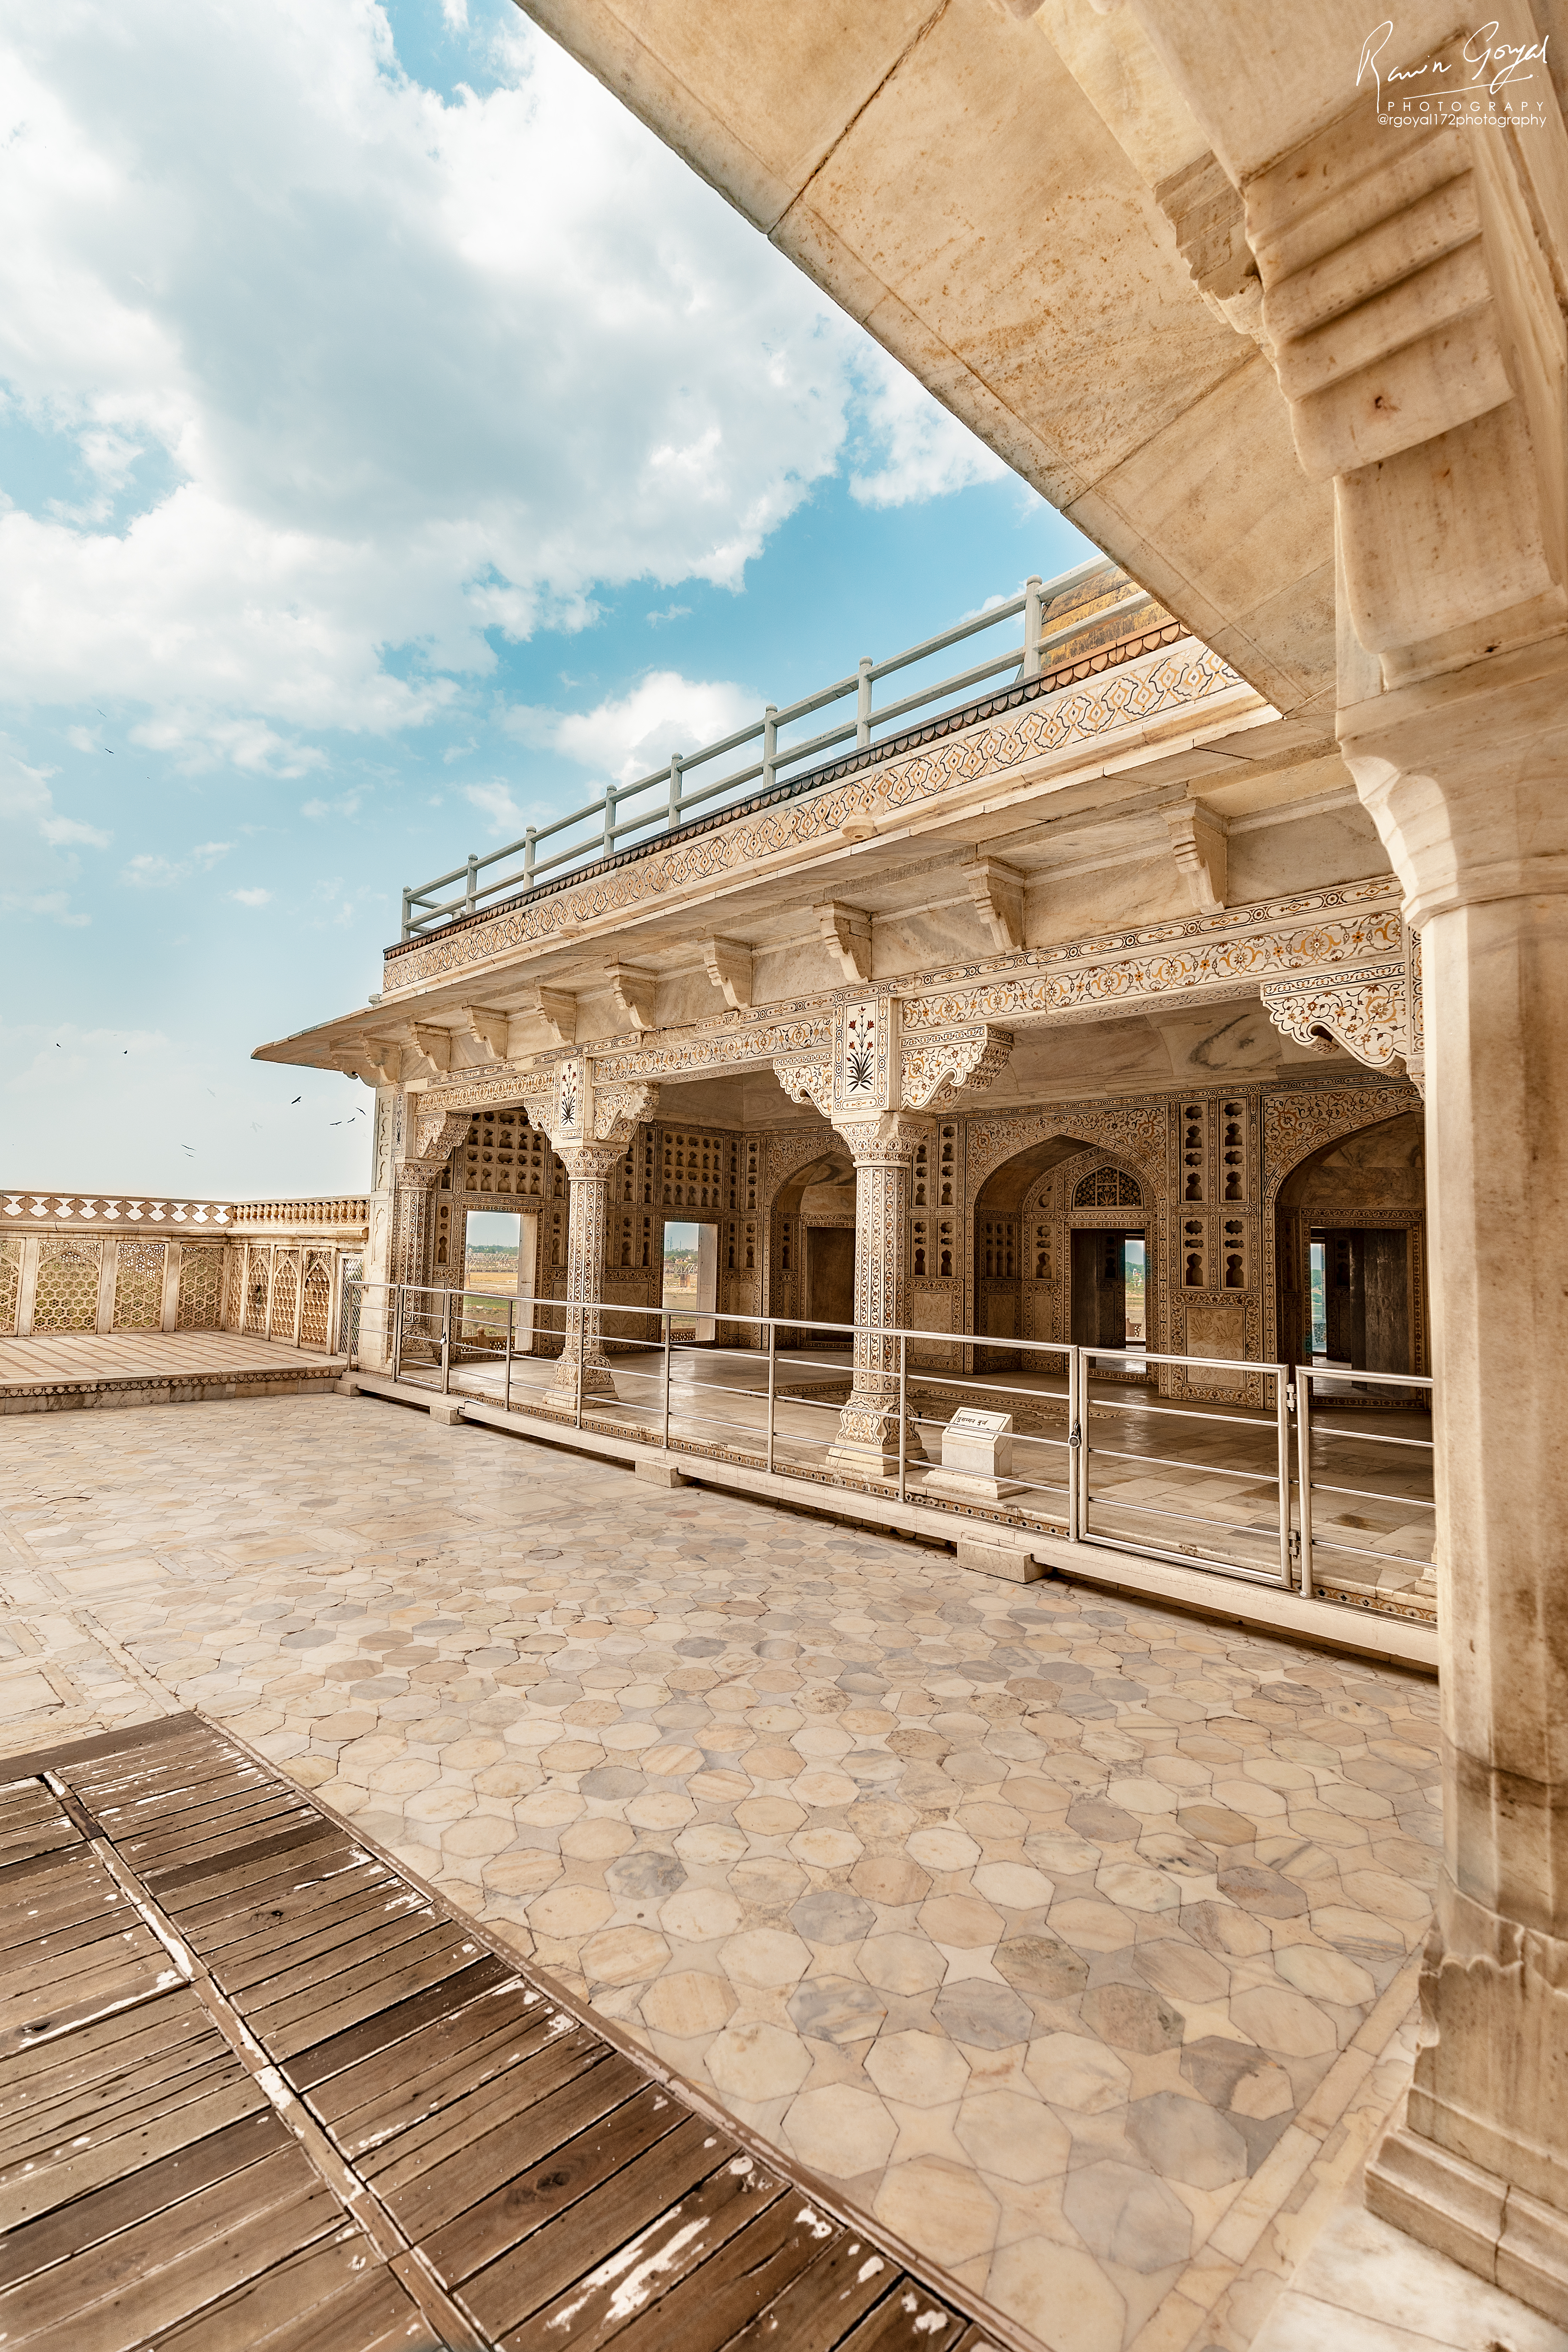
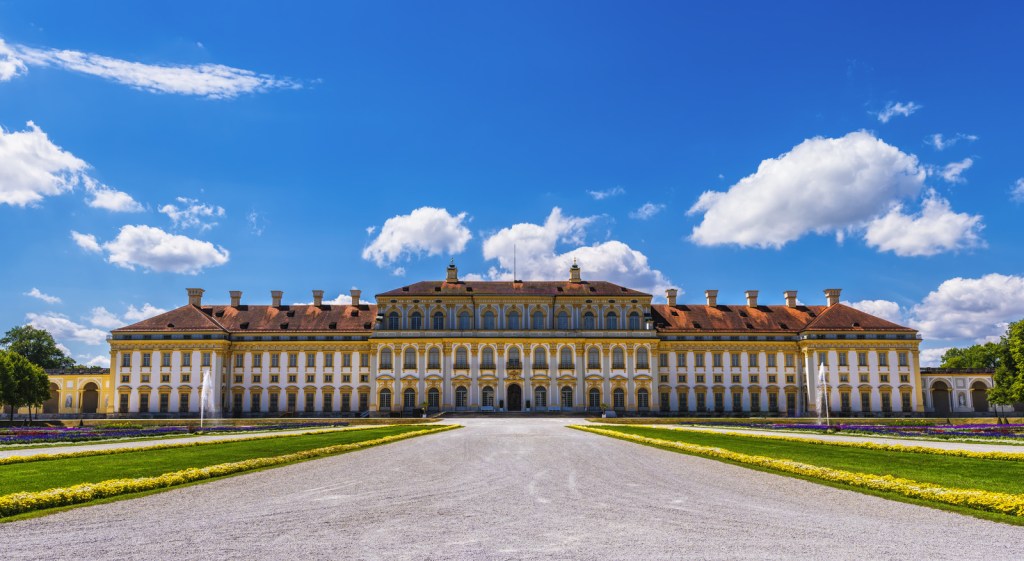
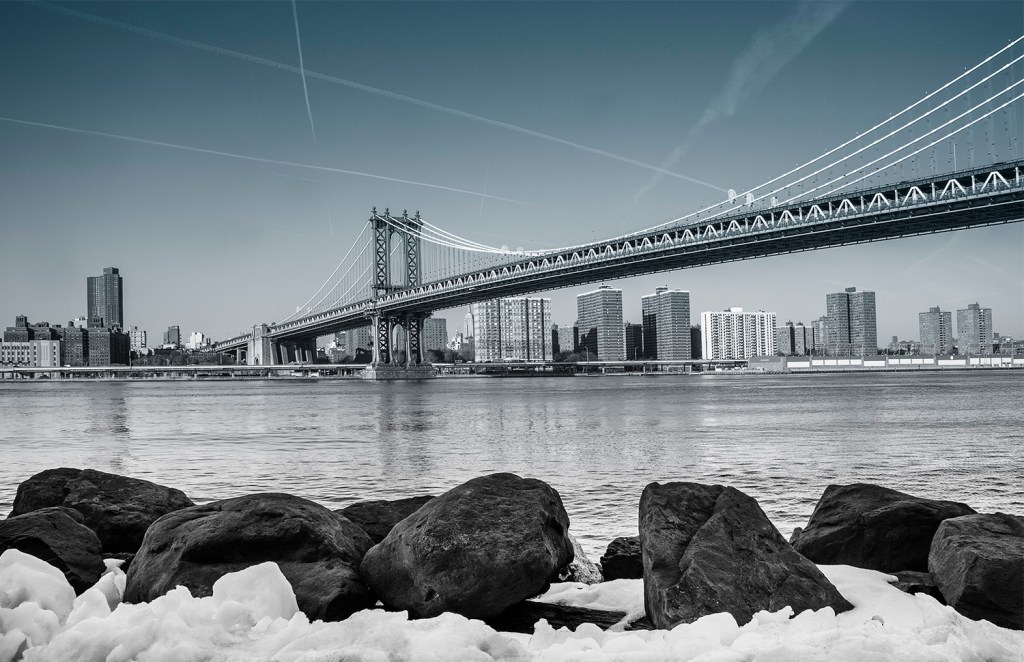
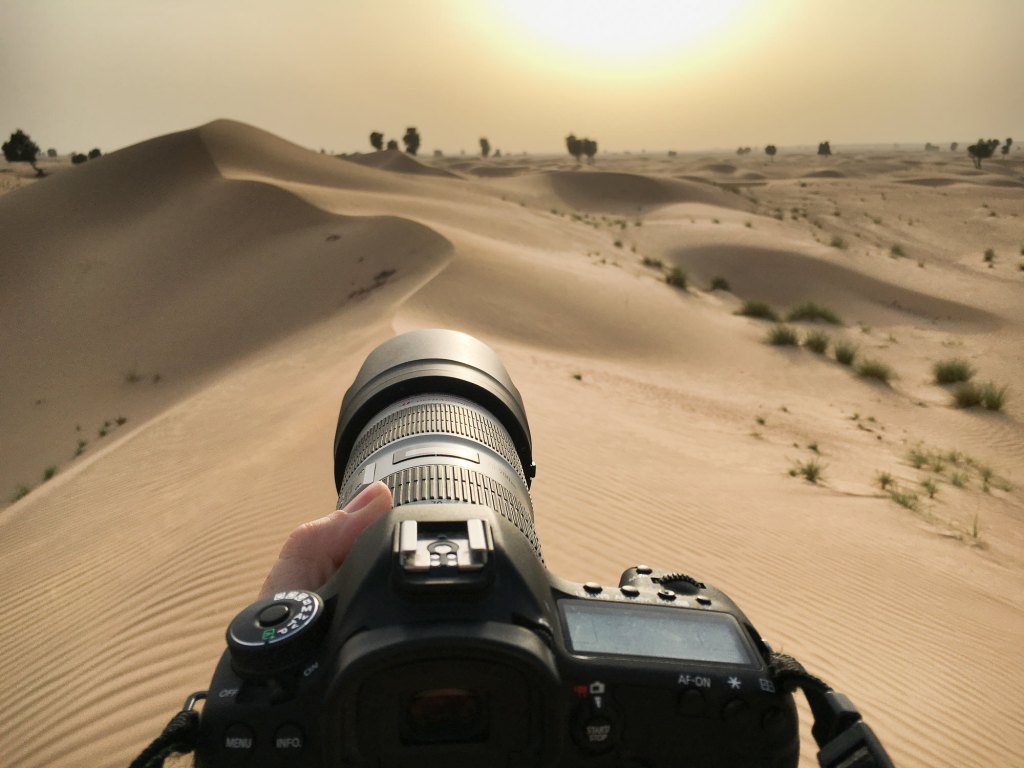
WIDE ANGLE
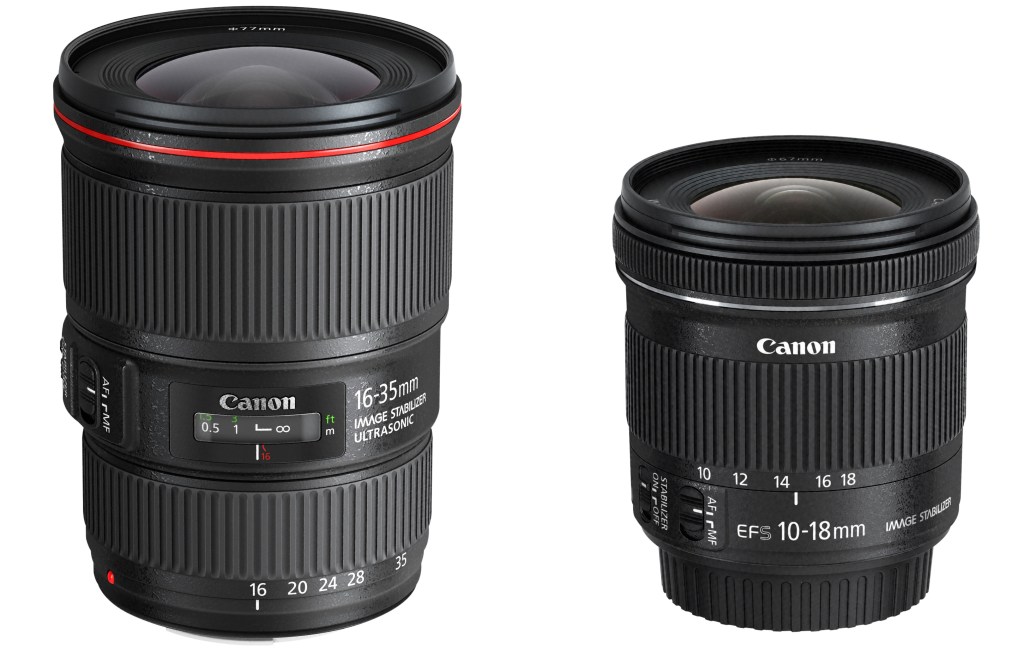
Wide angle lenses are pretty self explanatory, they allow you to gain a wider field of view. Landscape photographers tend to use these lenses to make sure they get the full scene of what they are photographing. Keep in mind that the lower the number focal length, the more that will fit in your frame. Wide angle lenses tend to distort photos (especially of faces), which can fixed moderately post-processing. They are very versatile lenses and tend to be really affordable.
Types of Wide Angle Lenses: 14mm, 24mm, 35mm
Pros:
- Lightweight, great for hiking and throwing in a backpack!
- More depth of field, creating more in focus images.
Cons:
- Not great for achieving compression (also known as bokeh or a blurry background).
- Can create distorted images.
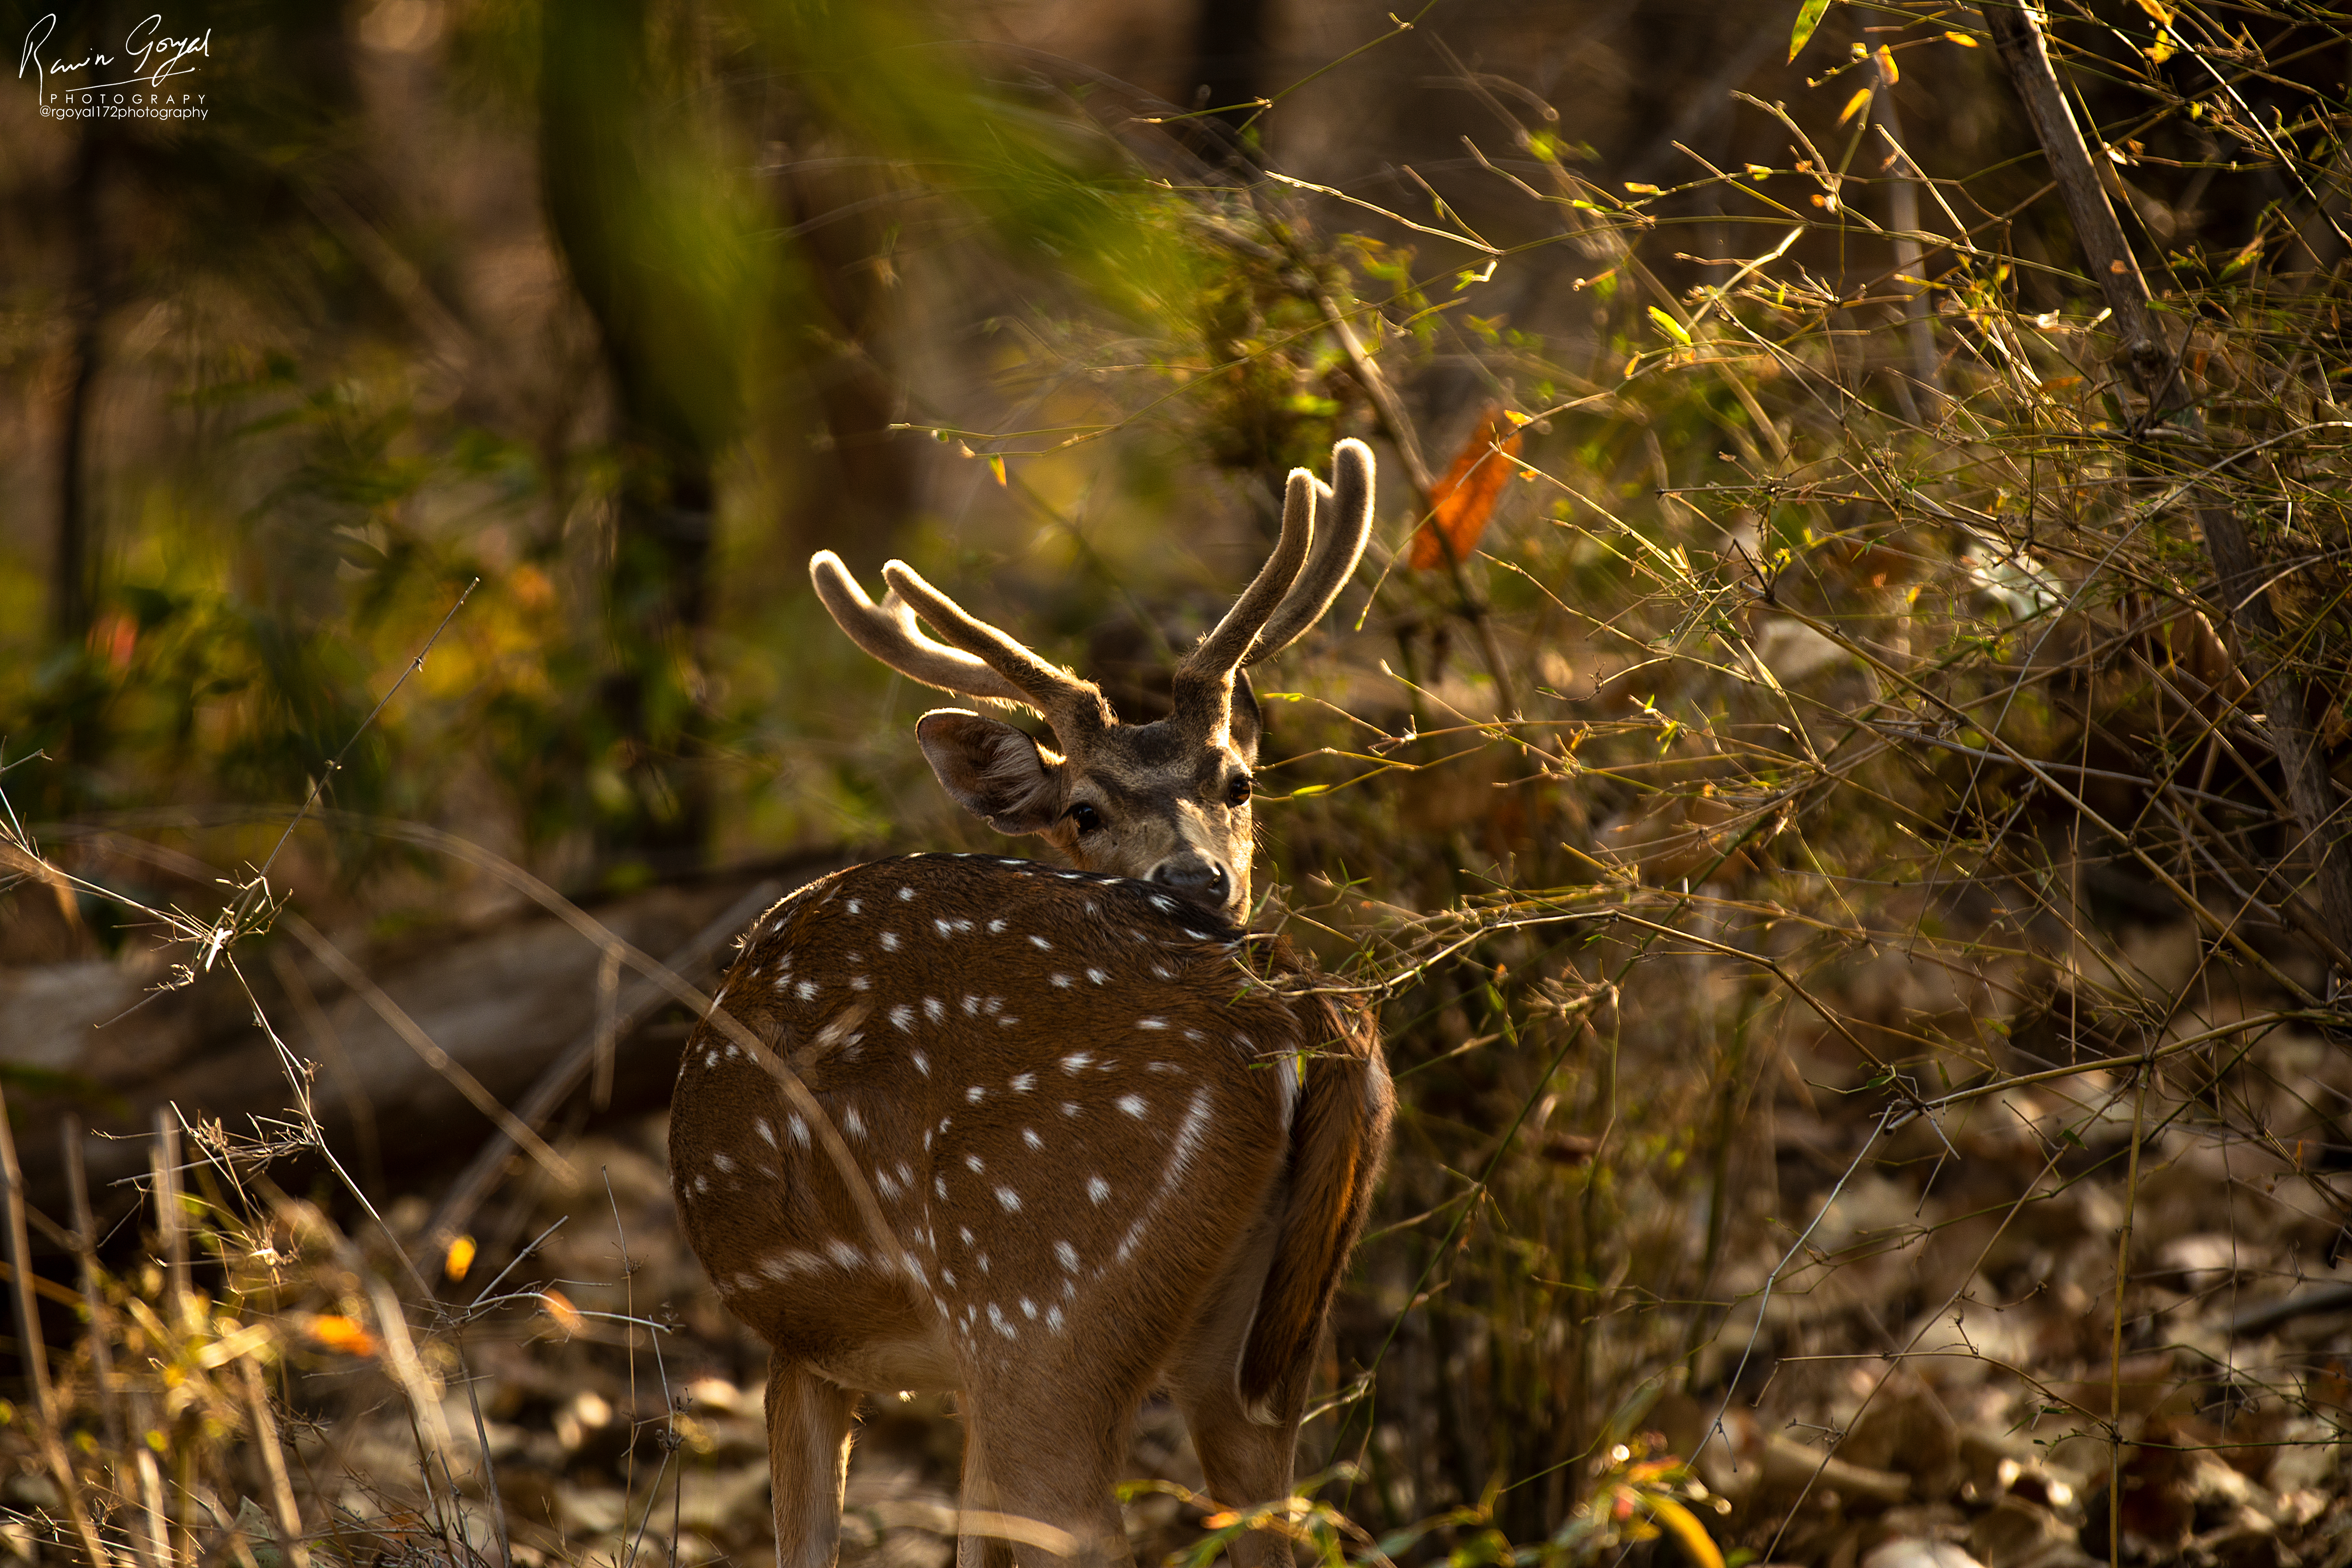
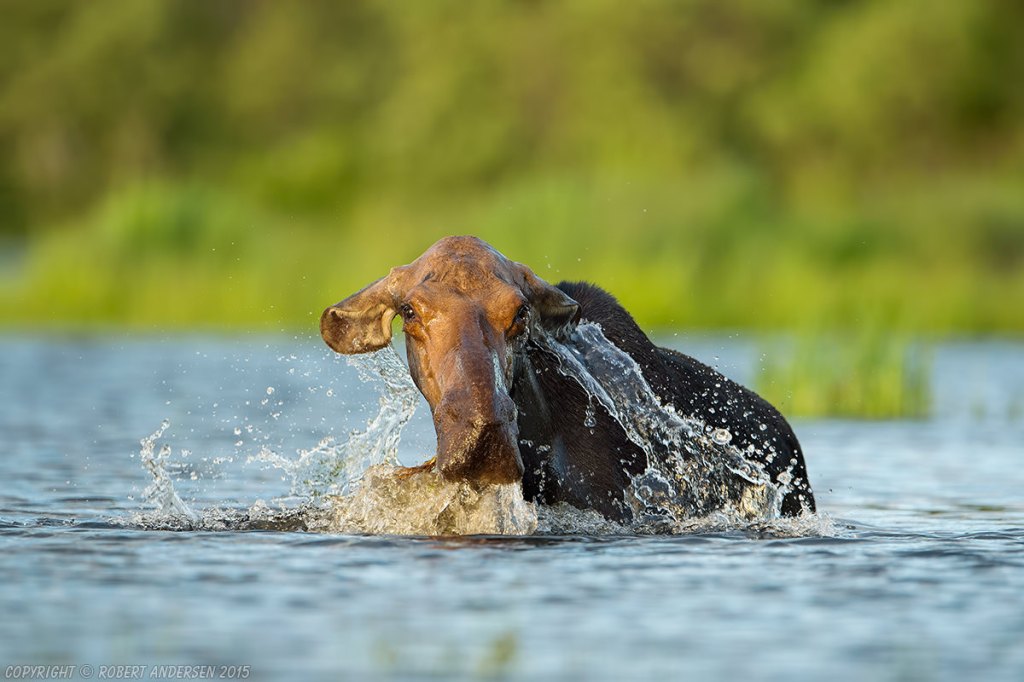
TELEPHOTO LENS
A telephoto lens has a long focal length and provides a high level of magnification, allowing you to photograph subjects at a moderate to far distance. They tend to be bigger and heavier than other types of lens, although modern technological advances have made them more compact and easier to handle.
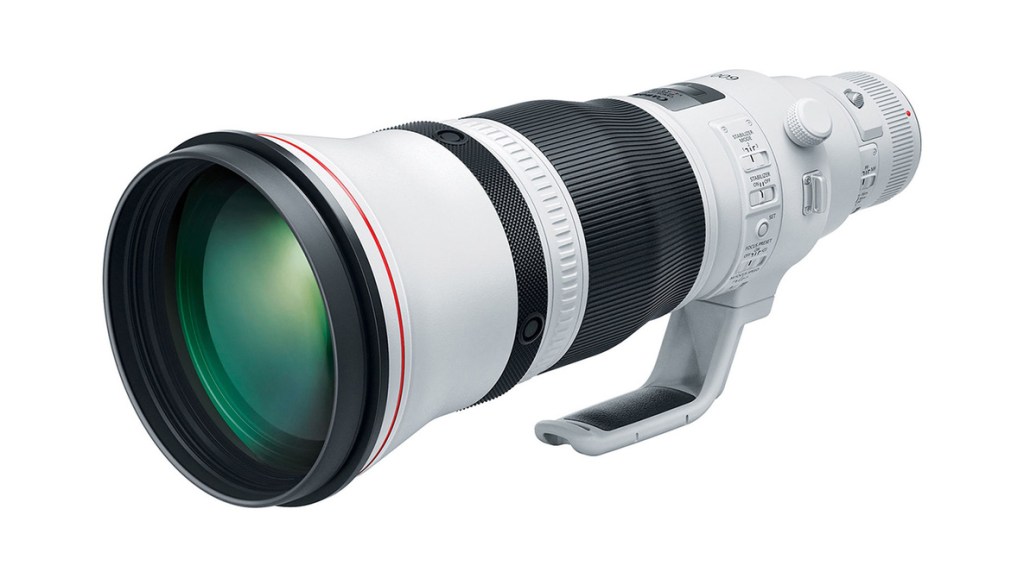
Telephoto lenses are popular for any type of photography where you can’t get near to the subject, including wildlife and sports events. They are also commonly used in portrait photography, where a moderate telephoto lens will provide a natural, undistorted perspective.
Types of Telephoto Lenses: 70-300mm, 100-400mm, 300mm, 400mm, 600mm
Pros:
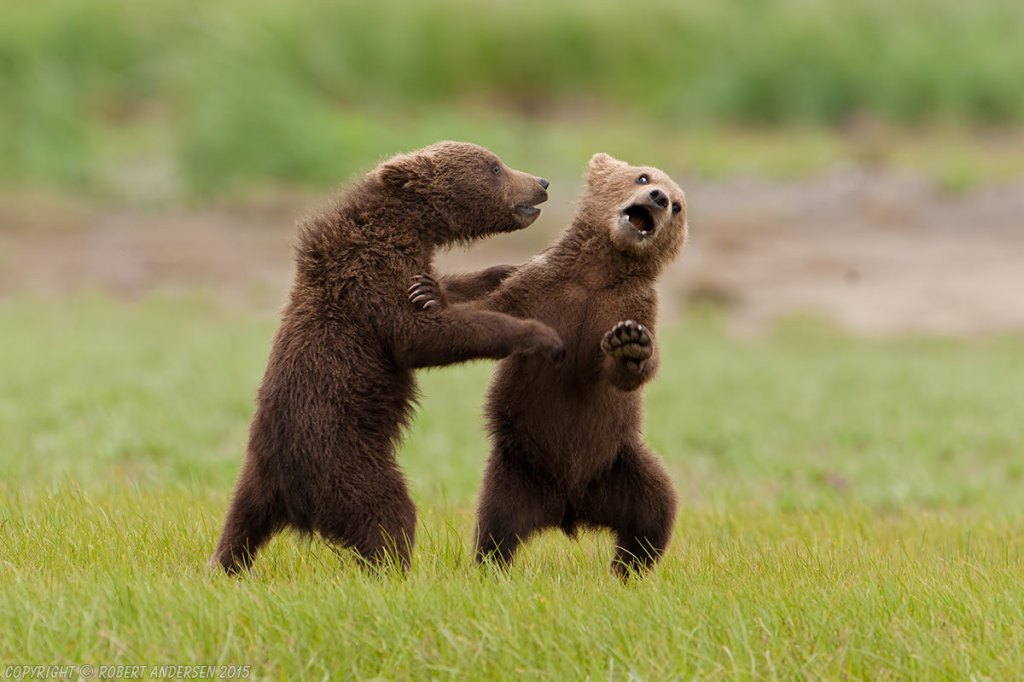
- Great for wildlife, sports and astronomy photography!
- You can shoot in one stationary position.
- Shallow depth of field, meaning more great blur in the background!
Cons:
- They tend to be heavy, and often require the use of a tripod.
- Really expensive!
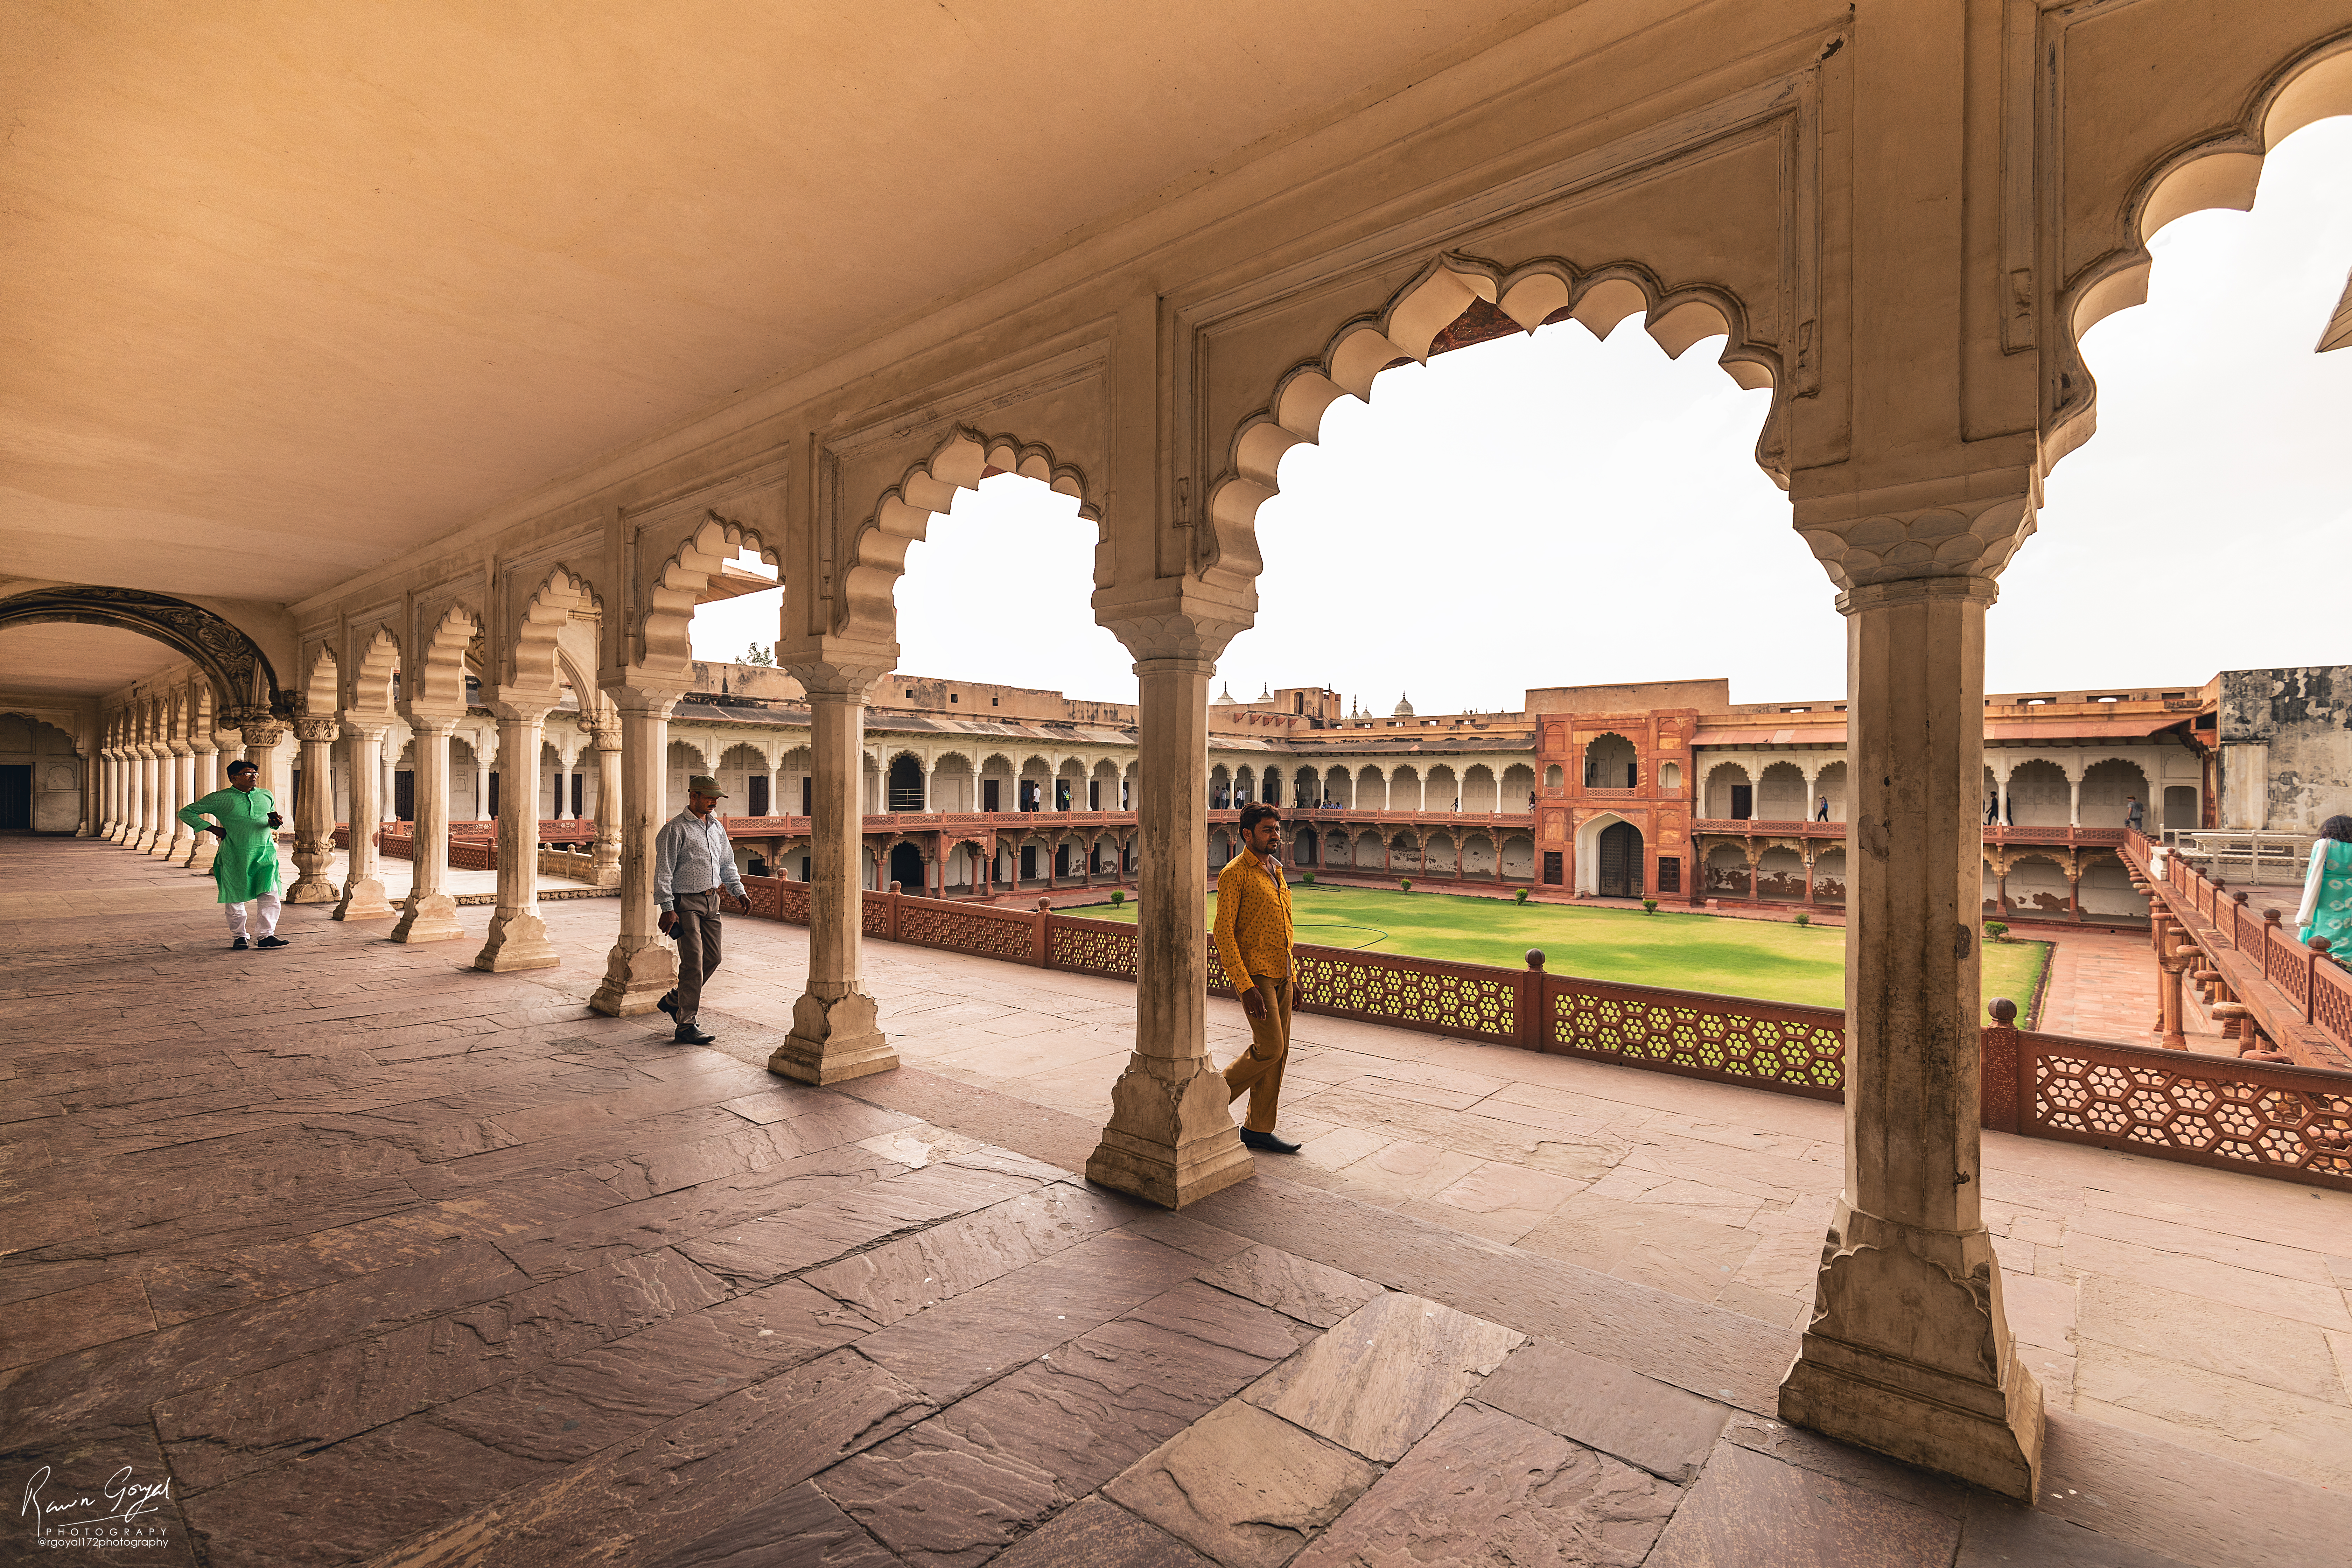
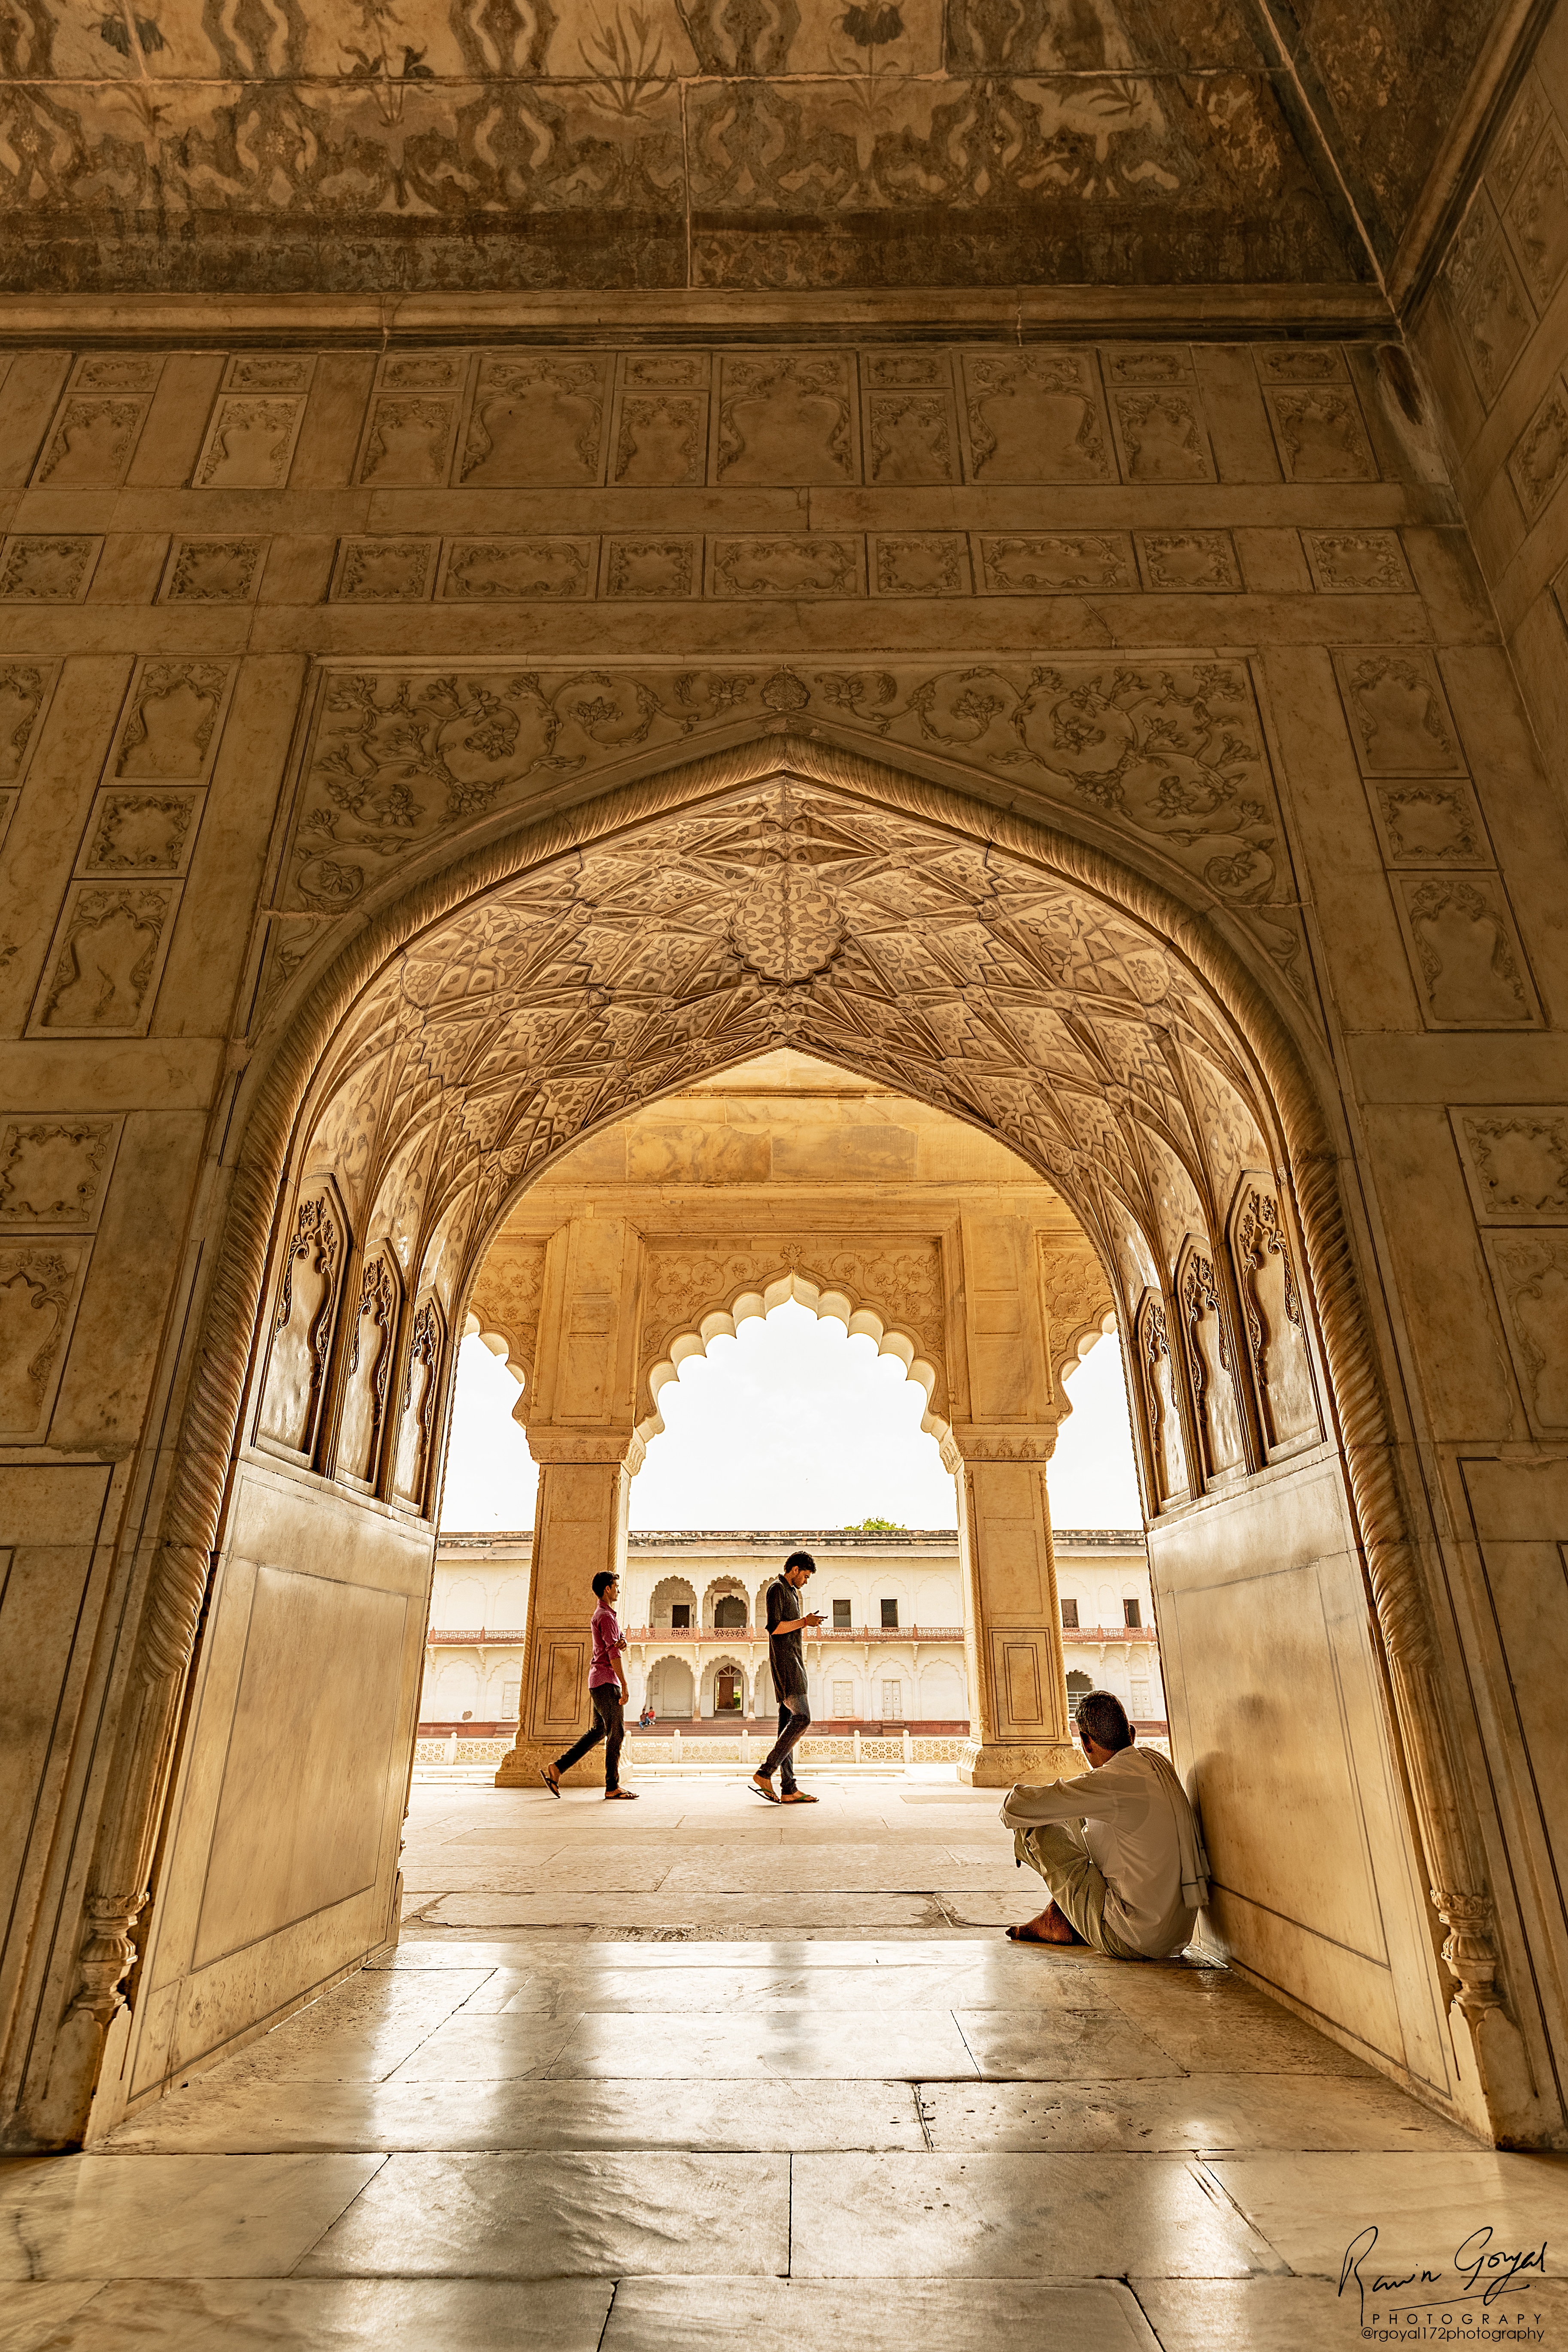
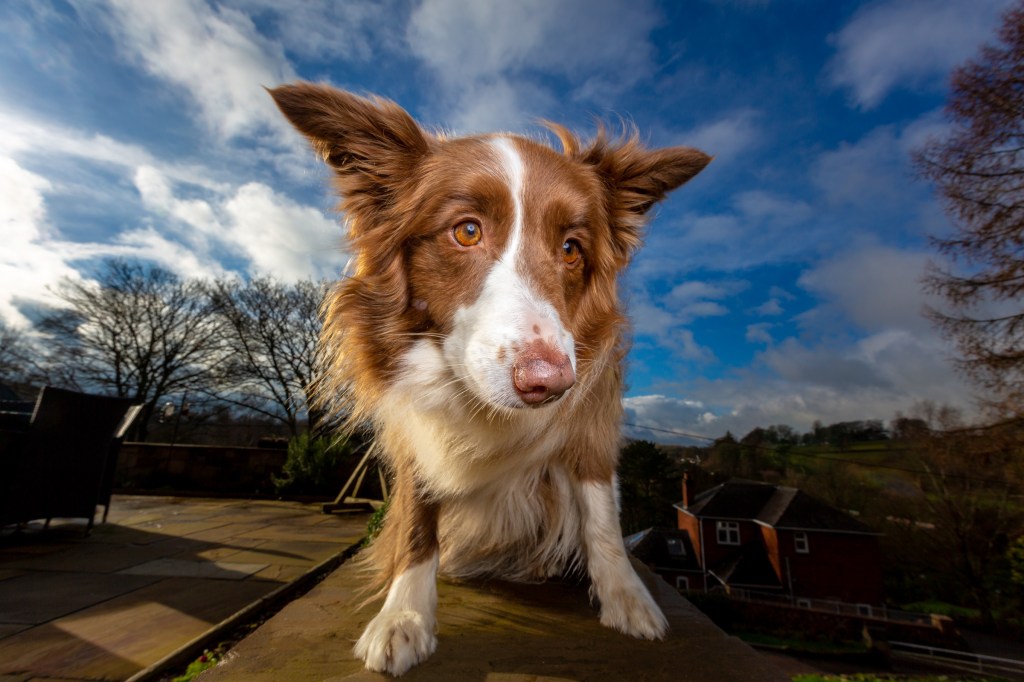
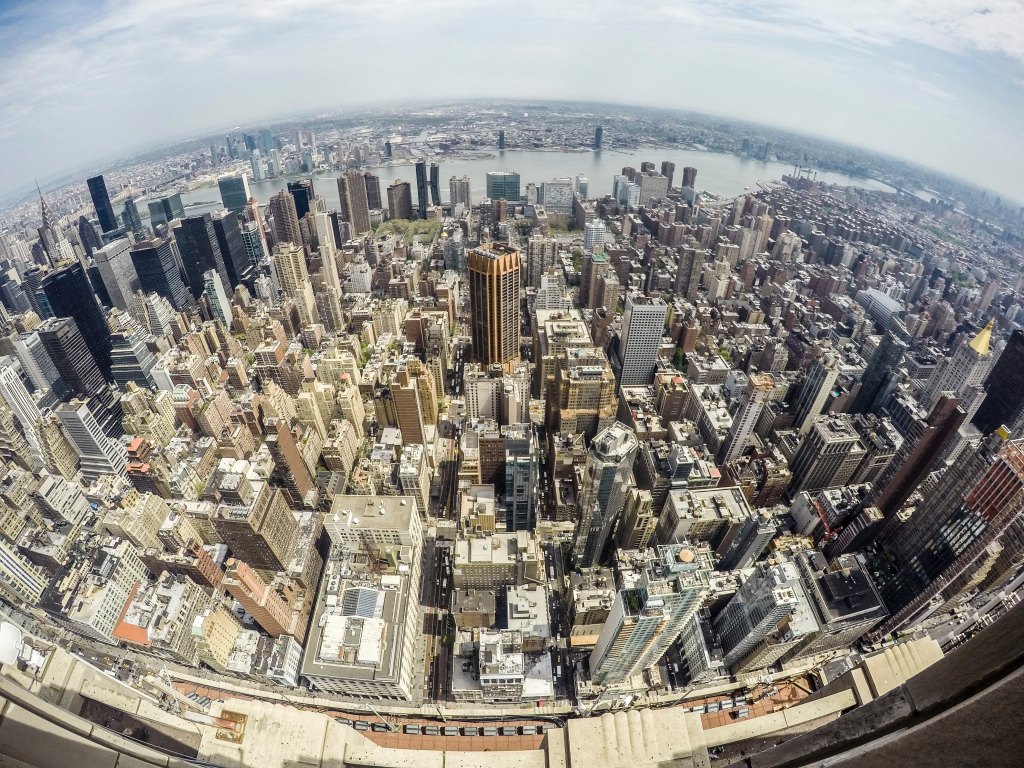
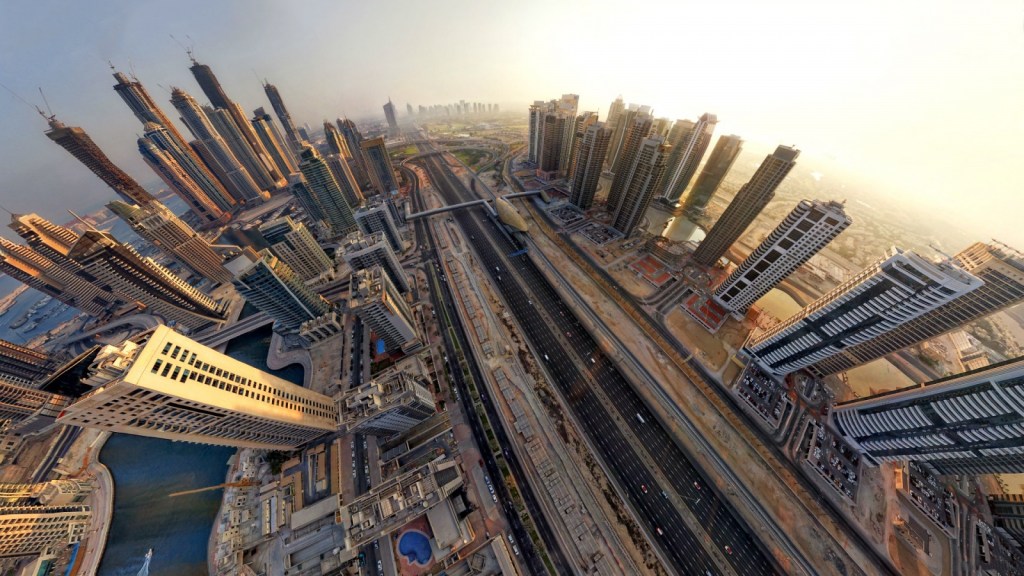
FISHEYE LENS
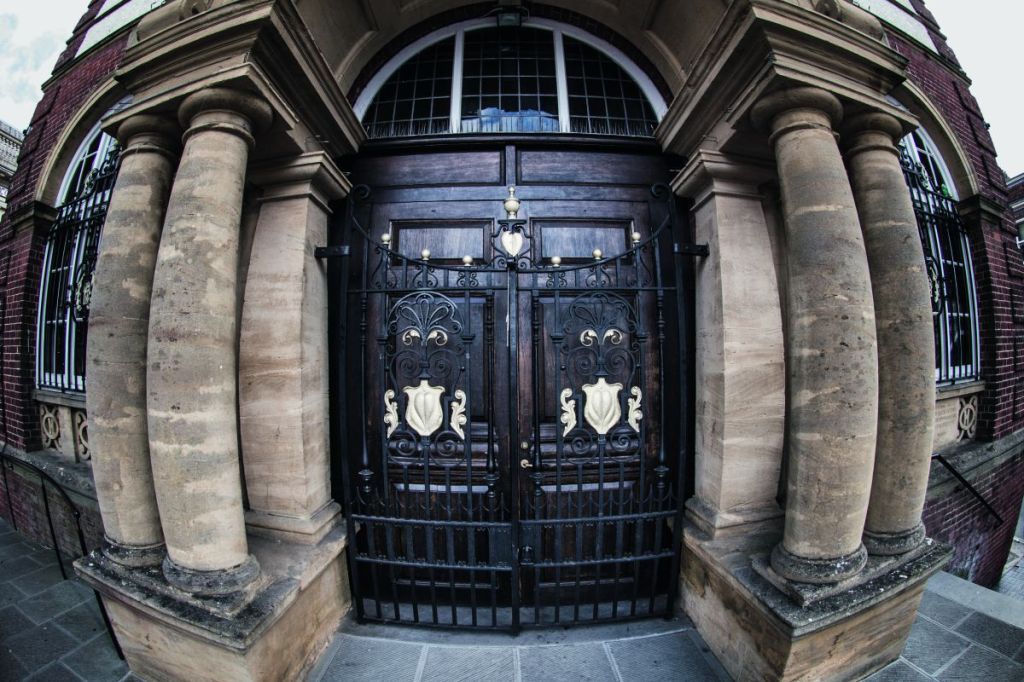
Fisheye lenses are basically ultra wide angle. These very specific lenses are most often used in abstract photography, and allows you to capture the most panoramic view given by any other type of photography lens. These lenses use a particular type of “mapping” that purposely distort lines given a more convex appearance. As the name implies, fisheye lenses look just like actual fish eyes, giving a panoramic view of anywhere from 100-180 degrees.
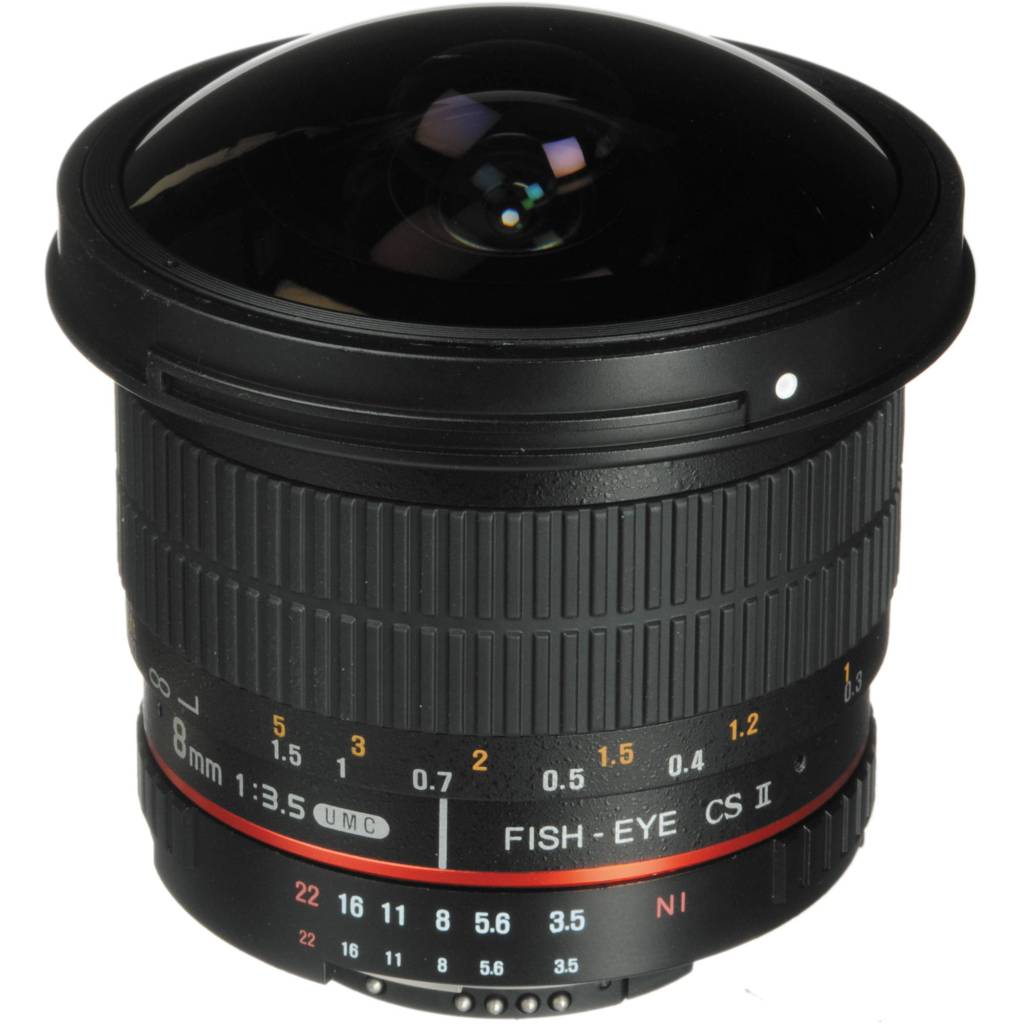
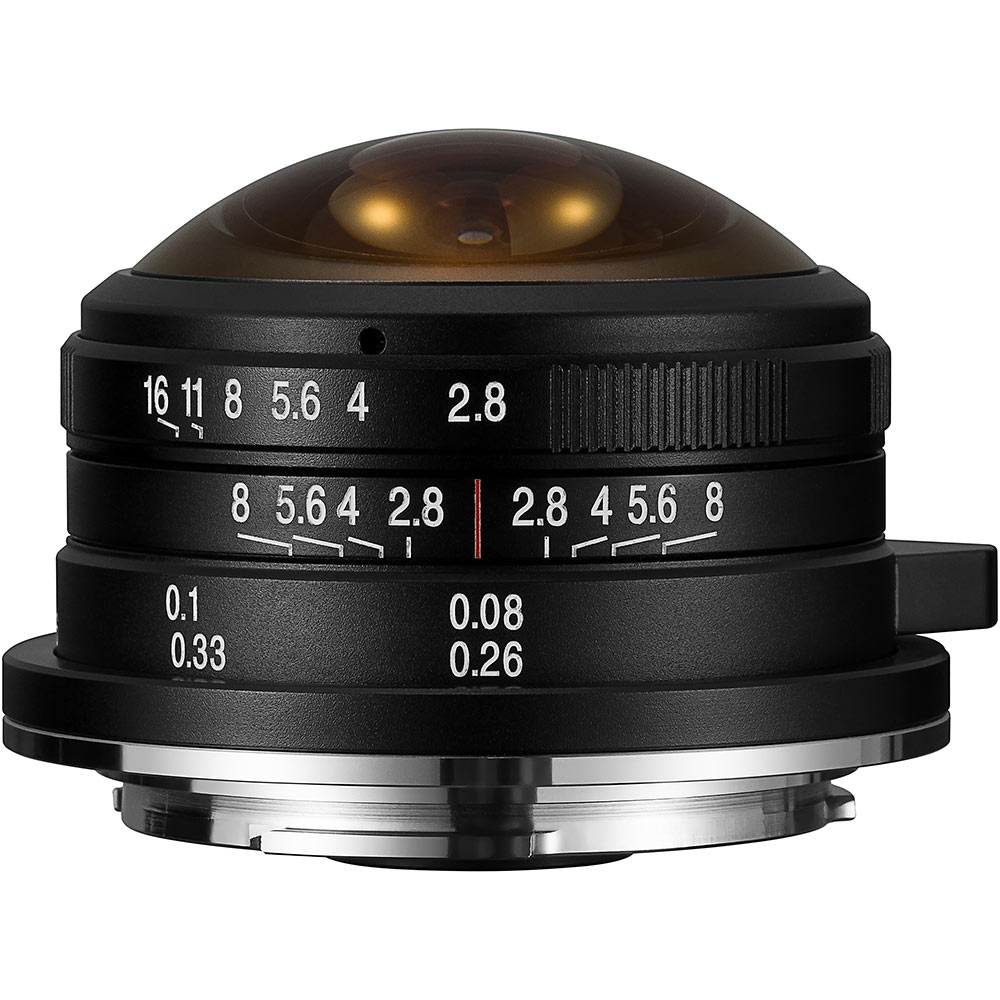
Types of Fisheye Lenses: Any range from 8-24mm
Pros:
- Ultra-wide field of view, and panoramic features.
- Perfect for small spaces or wide landscapes
Cons:
- Very specific uses, not great for portraits.
- Major line distortion.